Title here
Summary here
Step-by-step guide to downloading and rebuilding FPGA projects from GitHub sources
February 28, 20145 minutes
A while back I started sharing FPGA projects and code on Github. As I typically only commit sources and not generated files, the process of rebuilding the projects from sources can be a little tricky if you’re not used to working with the Xilinx tools. In this post I’ll explain exactly how you can download and rebuild one of my projects, and hopefully it will make the projects useful to more people.
The first thing you have to do is obviously to get the sources from Github. Now if you’re a user of Git, that’s a simple matter of cloning the repository. If you’re not a user of Git, you’ll have to visit the Github page and use the download link.
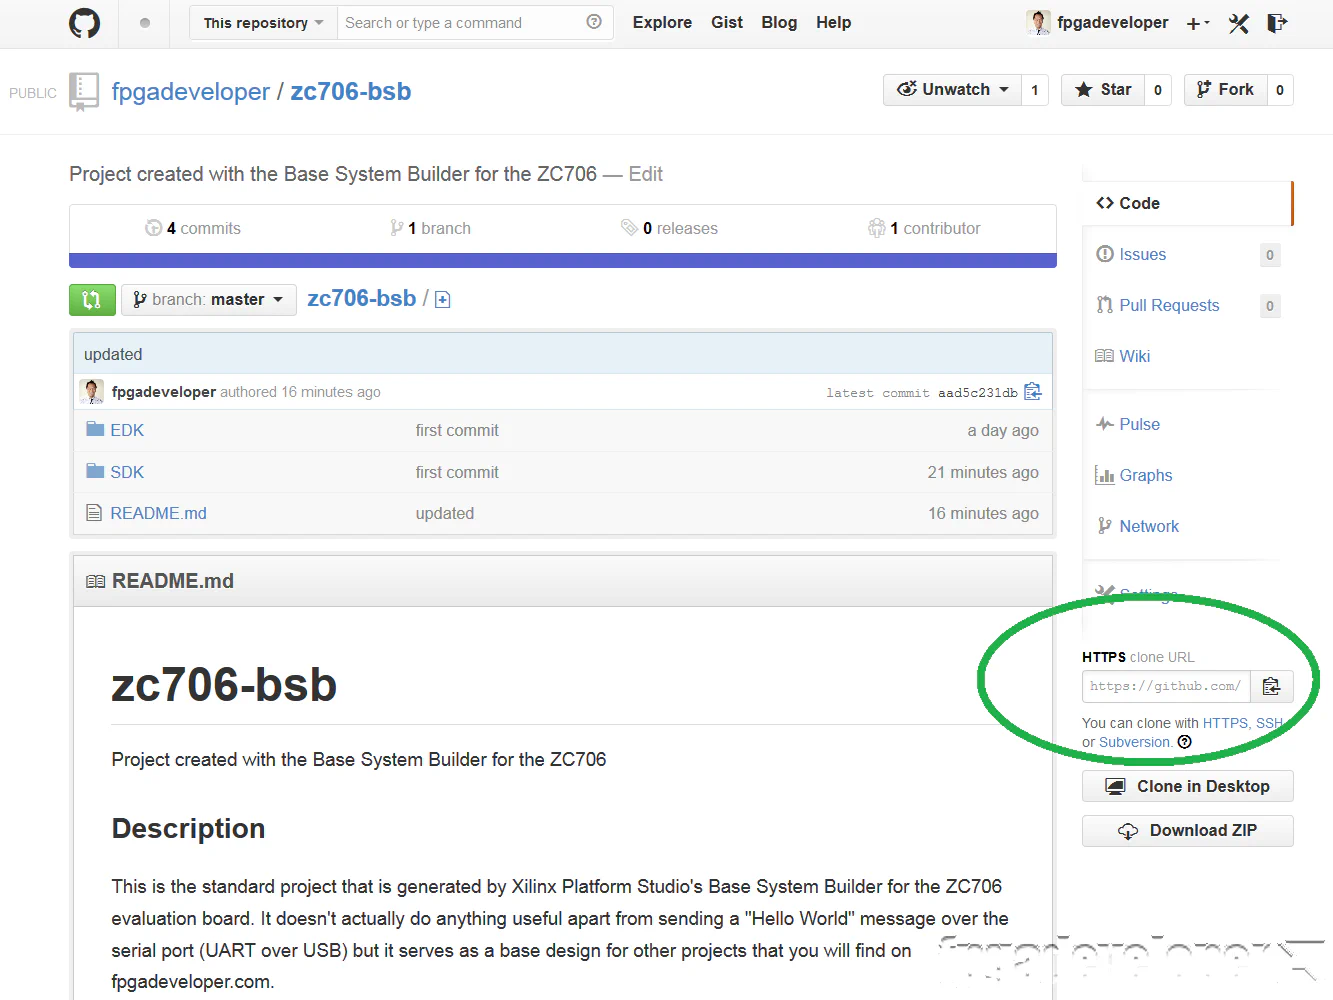
Go to the Github page of the project you want, for example: https://github.com/fpgadeveloper/zc706-bsb
For Git users, use the clone URL that you find circled in the image below. For non-Git users, use the download ZIP link button just below.
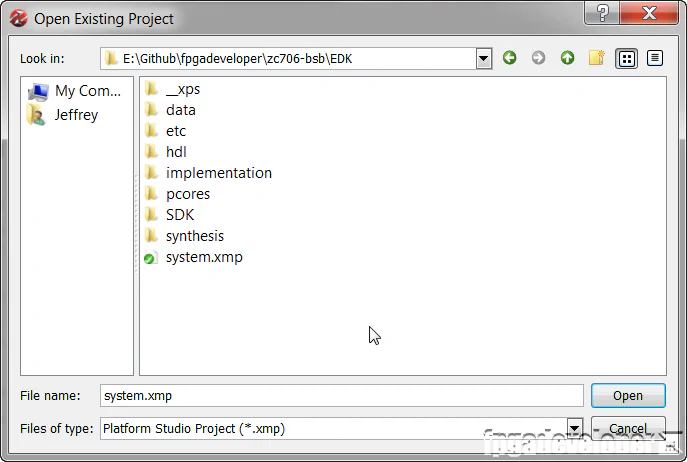
zc706-bsb. Among the extracted files you should find at least two folders: EDK and SDK, that’s the minimum for any of my projects.
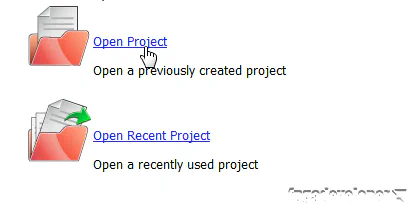
The EDK project is simple to rebuild, there is nothing fancy that needs to be done, just open the project in Xilinx Platform Studio (EDK) and click the “Generate Bitstream” button.
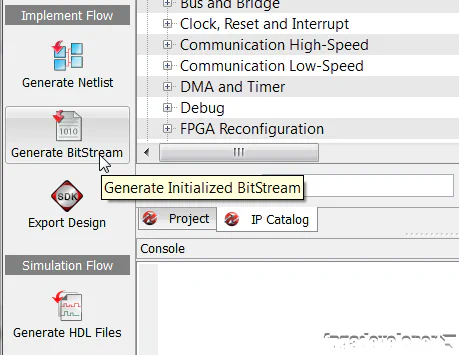
You then will need to export the design to SDK by clicking the “Export Design” button.
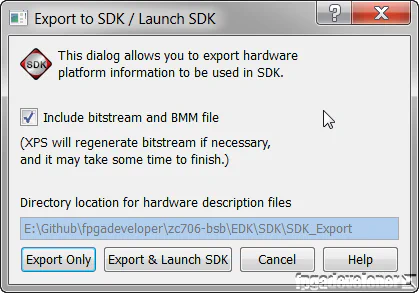
Click “Export & Launch SDK” because we will need the SDK for the next step.
If you are used to using the Xilinx SDK, you might notice that the SDK folder doesn’t contain any hardware platform (typically it’s called EDK_hw_platform). I don’t commit the hardware platform because I don’t consider these files to be true sources because they are generated by the SDK and they change every time you modify the EDK project. So what I prefer to do is to have SDK regenerate the hardware platform when I clone a project. That is what we do in this step.
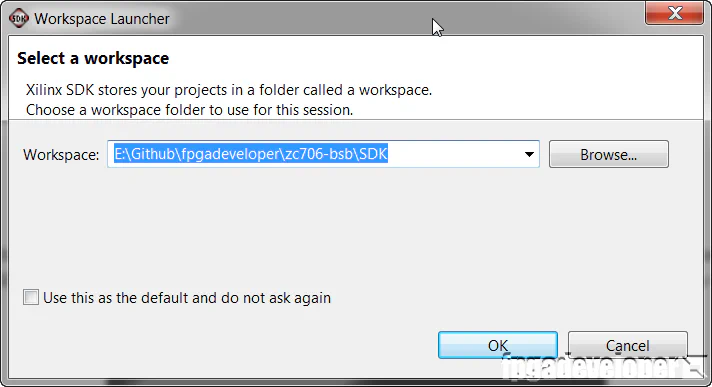
When SDK starts up, it will ask which workspace you would like to open. You should select the SDK folder from the files you just downloaded/extracted.
The SDK will open up with a workspace that contains the hardware platform called EDK_hw_platform. The screen should be as shown in the image below.
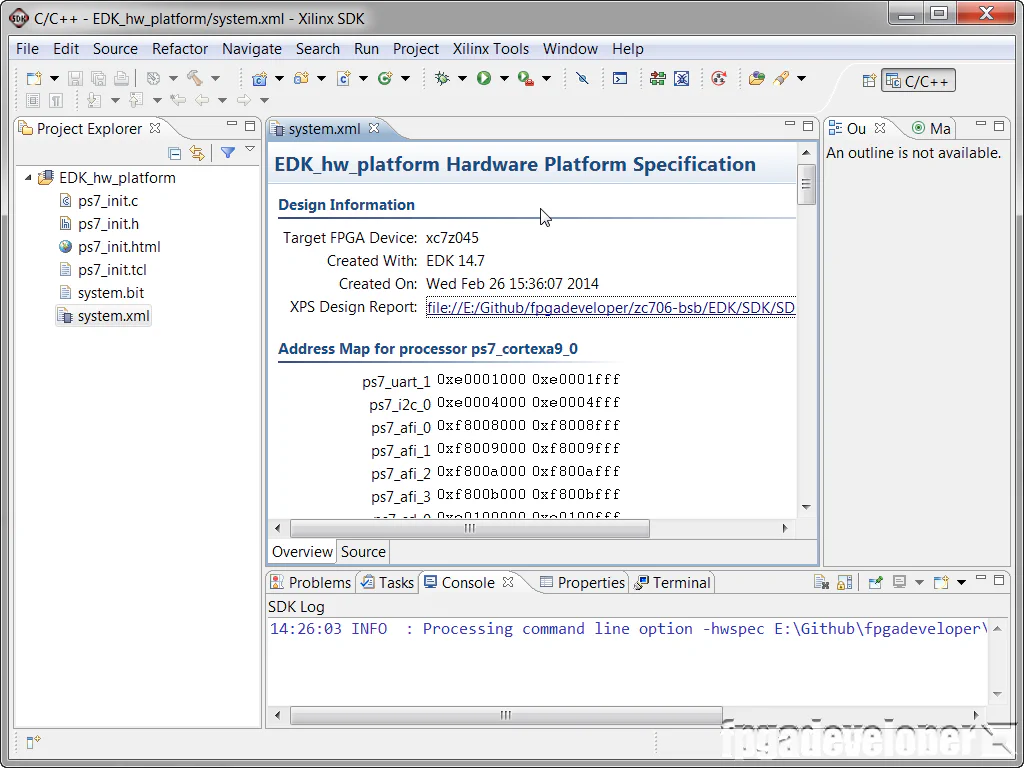
You should notice EDK_hw_platform in the Project Explorer as in the above image. As the name implies, these files are generated by the EDK design and they contain all the files necessary to describe the hardware configuration that you specified in the EDK project. You can see the bitstream in there (system.bit) as well as other configuration files that are specific to the Zynq. Every time you change the EDK project and use the “Export design” button, the SDK will know about it and update its copy of those files if you give it permission to do so.
If you did not use the “Export & Launch SDK” from Xilinx Platform Studio, you will have to create the hardware platform yourself in SDK. In that case, you would open the SDK and choose the SDK workspace folder. The workspace should be completely empty. You would follow these steps to create the hardware platform:
EDK/SDK/SDK_Export/hw folder and select the system.xml file.EDK_hw_platform. Make sure that the name is spelt exactly like that and click Finish.After completing those steps you should have an SDK workspace with a single project named EDK_hw_platform.
Now you need to import the applications and BSPs.
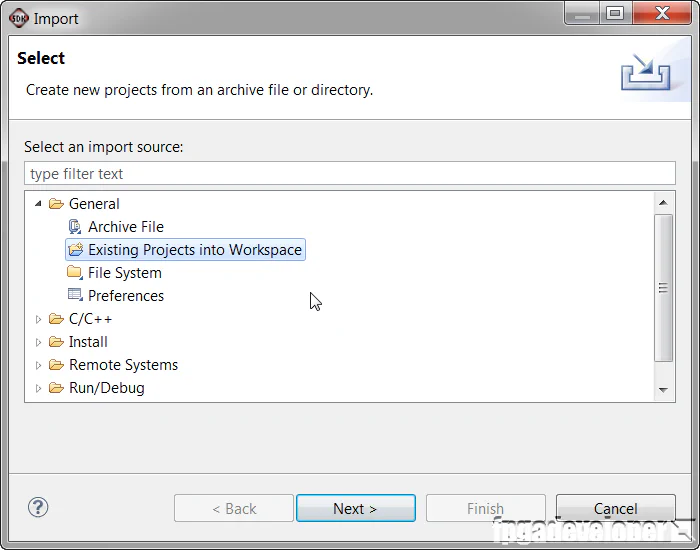
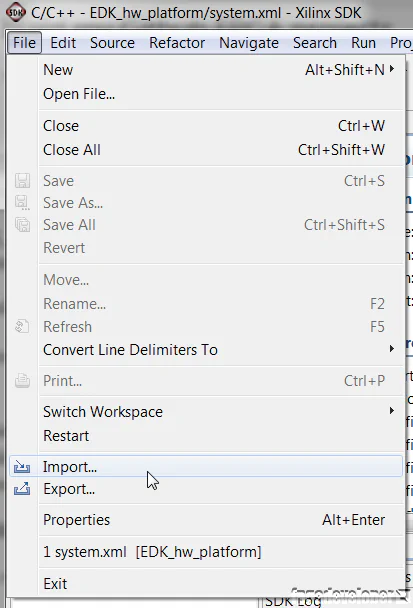 2. In the Import window, select General->Existing projects into workspace. Click Next.
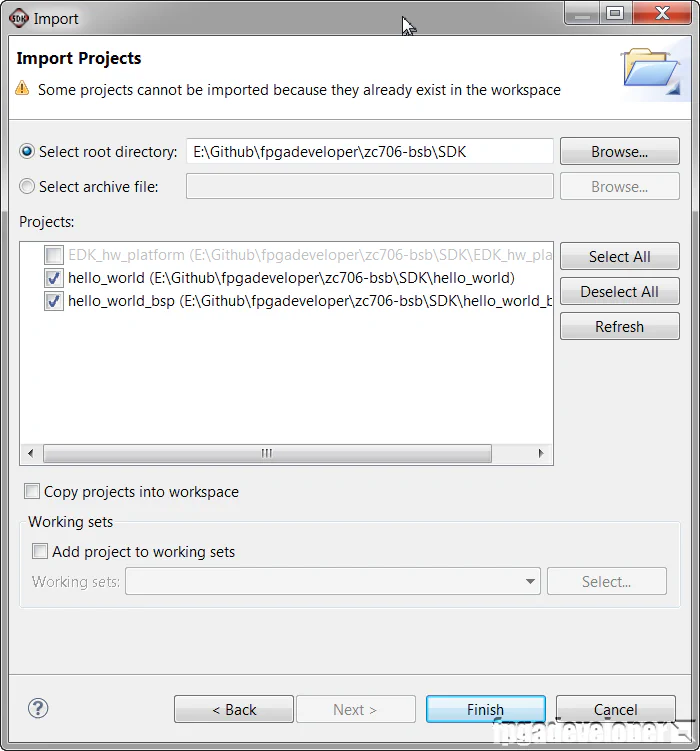
 3. Click Browse, and select the SDK folder (from the files you downloaded).
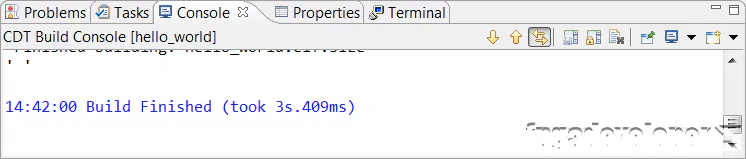
Before trying to run your code, wait a while for SDK to build the application. It should be automatic, but if it doesn’t start by itself, you can always select Project->Build All. It can sometimes take a while, check the progress at the bottom right corner of the SDK window.
If you port any of my projects to other hardware platforms, or if you have some interesting applications, please send me the code or push it onto GitHub and send me a link so I can share it on my website. The more people that benefit, the better.