Title here
Summary here
How to use Tcl scripts and a clean folder structure to version control Vivado projects.
August 1, 20146 minutes

Vivado generates a whole bunch of files when you create a project, and it’s not very clear on which are source files and which are generated files. The best approach is to consider them all to be generated files and to put none of them in version control. Instead, create a folder stucture for your sources that makes sense to you and use Tcl scripts to build the project and import the sources.
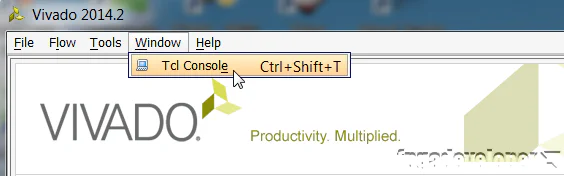
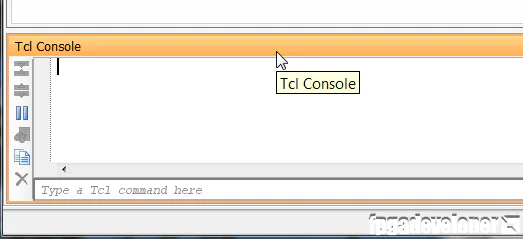
Vivado was designed to be completely Tcl driven. When you work in the GUI, you’ll probably notice that everything you do launches a Tcl command in the Tcl console at the bottom of the screen. This was a really nice design choice by Xilinx because it allows us to control the tools from scripts, thus allowing automation and proper version control.
Now just because we use scripts for good version control, doesn’t mean we have to give up the GUI. Vivado lets you generate a project from a script, work on it from the GUI and then save the project to a Tcl script form. It sounds simple, and it is, there are just a few things to understand first.
Determine the folder/file structure that you want to use for the version controlled files. Here is the folder/file structure that I use for the designs that I put on Github (folders are in bold font):
I call the top level folder Vivado to group together all the source files related to the Vivado project (some of my project repositories also have a folder for Python applications, EDK projects, etc). The build.tcl file is a Tcl script that will build the Vivado project from the sources. The build.bat file is a batch file that launches the build script. The “src” folder contains all the version controlled sources, such as VHDL and Verilog code, as well as scripts for generating parts of the project. The “bd” folder contains a script that generates the block design and is called from the build.tcl script. The ip_repo folder is generated by Vivado and contains version controlled sources for IP blocks used in the design.
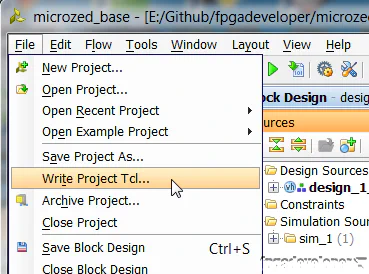
A template script for building a Vivado project can be generated from the GUI.
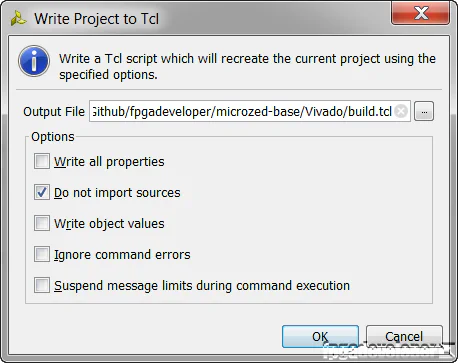
The template script that is generated by Vivado serves as a good example, however it makes a few assumptions that don’t fit with the typical way you’d use a version controlled repository:
So the way around the first assumption is to replace these lines:
# Set the reference directory for source file relative paths
set origin_dir "."

# Set the directory path for the original project from where this script was exported
set orig_proj_dir "[file normalize "$origin_dir/orig-project"]"

# Create project
create_project myproject ./myproject
With these:
# Set the reference directory to where the script is
set origin_dir [file dirname [info script]]

# Create project
create_project myproject $origin_dir/myproject
The way around the second assumption is to generate the block design and the wrapper from a script.
Fortunately, we don’t have to write the script to generate the block design, Vivado can make the script for us. To generate the block design script in Vivado, with the block design open, select File->Export->Export block design.
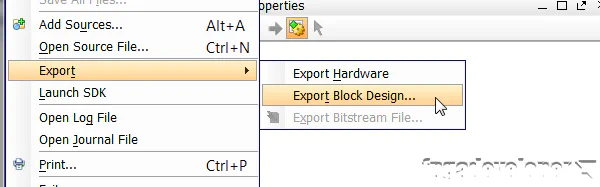
Save this file in the “src/bd” folder and commit it to version control.
Now we can modify the build.tcl script to call the block design script and generate the HDL wrapper. At the end of the file, add the following lines:
# Create block design
 source $origin_dir/src/bd/design_1.tcl

 # Generate the wrapper
 set design_name [get_bd_designs]
 make_wrapper -files [get_files $design_name.bd] -top -import
Finally, you’ll have to remove the lines that import the HDL wrapper file and the block design (.bd) file into the project.
In general, don’t commit anything within the project sub-folder that was created by Vivado. You want to keep ALL controlled sources including scripts out of that folder.
build.tcl (discussed above) to version control.src/bd/design_1.tcl (discussed above) to version control.These steps assume that you’ve cloned the project repository to a new location (otherwise Vivado will try to regenerate the project files that already exist and it’ll produce an error message).
My preferred method is to run a batch file called build.bat that I commit to version control in the same location as the build.tcl file. The batch file should contain the following line: C:\Xilinx\Vivado\2014.2\bin\vivado.bat -mode batch -source build.tcl So from Windows Explorer I only need to double click on that batch file and Vivado generates the project files. Then I open the project in Vivado by double clicking on the generated .xpr file.
Just for completeness, here is one way to call the script from Vivado:
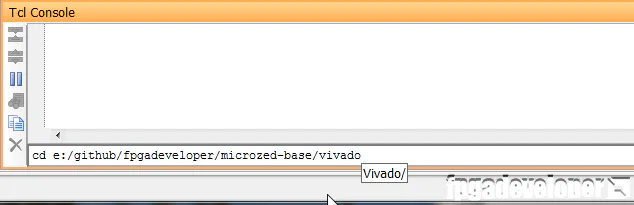
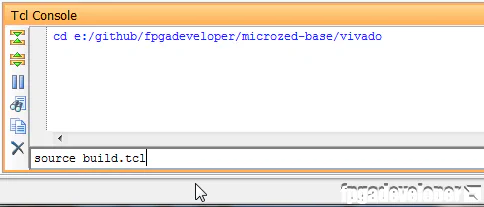
Vivado will then regenerate the project files and open them in the GUI.
When you make modifications to the project using the GUI, always remember to save them by using the “Tools->Write Project Tcl” and “File->Export->Export block design” options.
For an example of how to version control a Vivado project, checkout this base system project that I’ve shared on Github: