Title here
Summary here
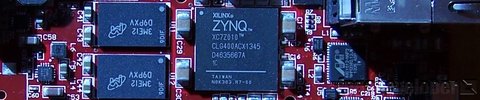
Step-by-step tutorial for building a custom AXI-Streaming FIFO IP in Vivado and testing it with DMA
November 1, 20177 minutes
Tutorial on creating a custom AXI IP block in Vivado with integrated VHDL code on the MicroZed.
August 4, 20148 minutes
Build a custom PLB peripheral with the Peripheral Wizard to control LEDs and read DIP switches on the ML505
October 18, 200813 minutes
Integrate a CORE Generator blackbox multiplier (.ngc file) into an EDK peripheral on the ML505
October 18, 200811 minutes
Integrate VHDL source files into an EDK peripheral using a multiplier example on the ML505
October 18, 200810 minutes
Learn how to manually add a GPIO peripheral and constraints to an EDK project on the ML505
October 18, 20089 minutes
Integrate VHDL source files into an EDK peripheral using a multiplier example on the XUPV2P
February 11, 20089 minutes
Build a custom timer peripheral using the Peripheral Wizard to flash LEDs on the XUPV2P board
February 8, 200811 minutes
Integrate a CORE Generator blackbox multiplier (.ngc file) into an EDK peripheral on the XUPV2P
February 8, 200810 minutes
Build a custom OPB peripheral with the Peripheral Wizard to control LEDs and read DIP switches on the XUPV2P
February 6, 200812 minutes