Title here
Summary here
November 10, 20228 minutes

In this post we’re going to setup the Kria KV260 Vision AI Starter Kit for use with PYNQ. For other platforms like the PYNQ-Z1, the PYNQ setup is quite simple: we download a disk image file for the version of PYNQ that we want to use and we just burn that image onto our SD card. For the Kria, it’s a bit different and unfortunately it’s a bit more complicated, at least it is at the moment I write this post.
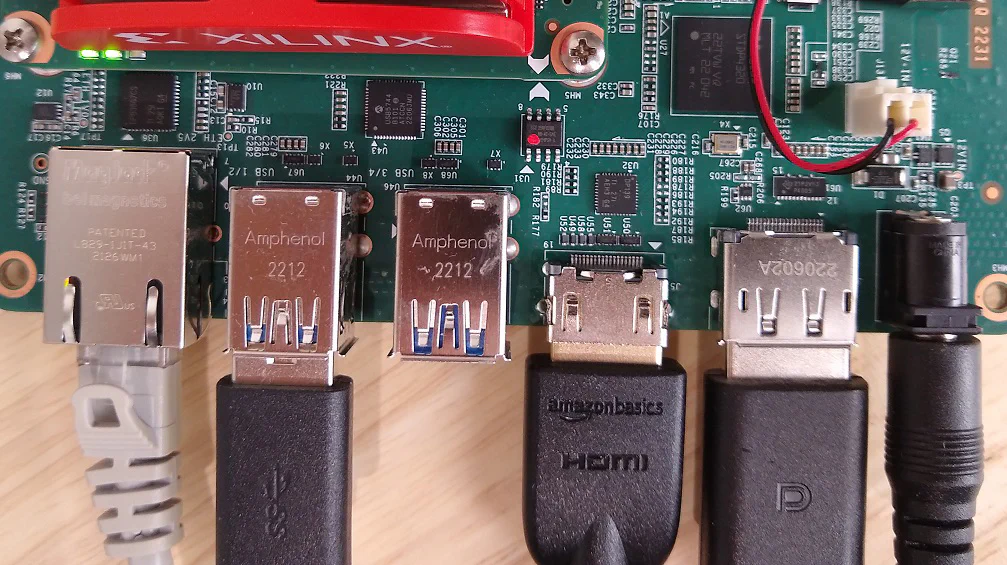
So to set the playing field, this is the hardware that I’m using. Hopefully you have the same setup for this:
To start with, follow this link to download Ubuntu for Kria. On the day that I write this post, there are two versions that you can download:
| Version | Comments |
|---|---|
| Ubuntu Desktop 22.04 LTS | This latest version is currently described as a pre-production release. The Xilinx wiki mentions that there are some limitations associated with this version. I tried it anyway and found that it crashes during boot; it turns out that we need the 2022.1 Boot firmware to use this image on the KV260 and my board probably has the older 2021.1 version. So let’s not use this one for now. |
| Ubuntu Desktop 20.04.3 LTS | This is the version that we want to use. Note that it will determine the PYNQ release that we will eventually install. |
Once you’ve downloaded the file (iot-kria-classic-desktop-2004-x03-20211110-98.img.xz) to your desktop PC , you will have to extract the image file
from it. If you’re using Windows, you would use 7-Zip to extract the image file. If you’re using Ubuntu, you can just right click on
the file and click “Extract Here”.
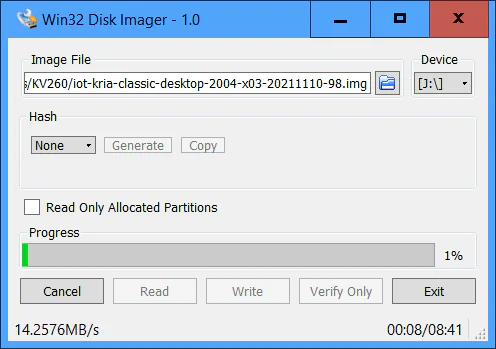
Now you need to apply that image file to your SD card. In Windows, I use Win32DiskImager. In Ubuntu, you would use Disk Image Writer. Make sure that your SD card is plugged in, and that you have correctly selected it as the target disk.
With the keyboard, mouse and monitor plugged into the Kria, insert the SD card into the slot and power up the
Kria.
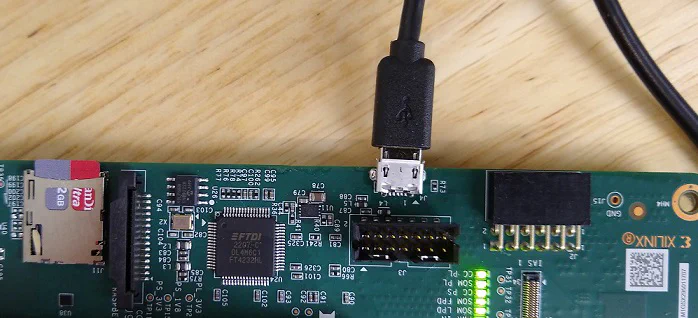
If you want to monitor the boot sequence, you can plug a USB cable into the USB-UART port of the Kria and open a serial terminal
on your desktop PC set to the correct comport and the speed of 115200bps.
After a minute or so you should see the Ubuntu login screen on the Kria’s monitor. Login to Ubuntu using these credentials:
ubuntuubuntuYou should then be forced to change the password. The username will be the same.
Now let’s open a command terminal in Ubuntu. The easy way to do that is by pressing Ctrl-Alt-T. Alternatively you
can click the button in the bottom left corner of the screen (Show Applications) and then typing terminal in the
search bar.
With the terminal open, we want to make sure that the Kria has access to the internet. We can do this by running ping:
ping 8.8.8.8
If you can’t ping successfully with that, then you should try to figure out what is wrong with your network connection and fix it before continuing.
Now with a fresh Ubuntu installation, we should always start off with an update of the core
utilities. However, as you’re probably doing this right from the first boot of this Ubuntu installation, you’re probably
going to get blocked by unattended-upgrades (more about that
here).
The automatic updater is likely to have a long queue of updates that it is
currently downloading and preparing in the background, and during that time it wont let you update things manually as we would like
to. So first what we want to do is to temporarily switch off unattended-upgrades, do our updates, install the rest of our tools
and then turn it back on when we are done.
unattended-upgrades (the automatic updater) by running the following command:sudo dpkg-reconfigure -plow unattended-upgrades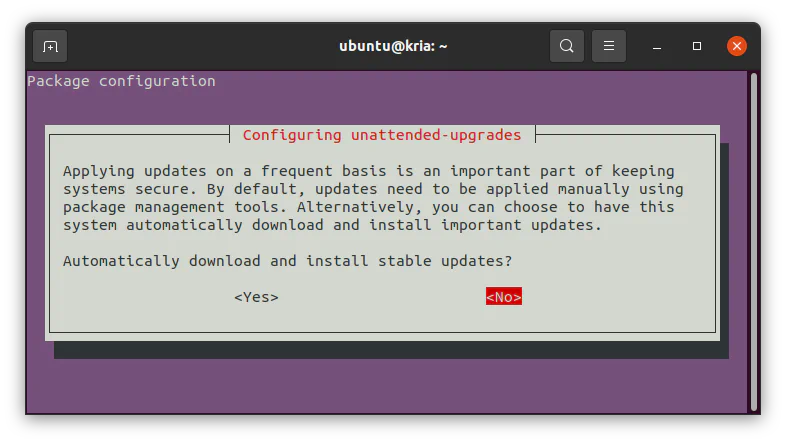
rebootCtrl-Alt-T) and update the system:sudo apt update
sudo apt -f install
sudo apt full-upgradexlnx-config snap:sudo snap install xlnx-config --classic --channel=1.xxlnx-config.sysinit command:sudo xlnx-config.sysinitunattended-upgrades back on. Select “Yes”.sudo dpkg-reconfigure -plow unattended-upgrades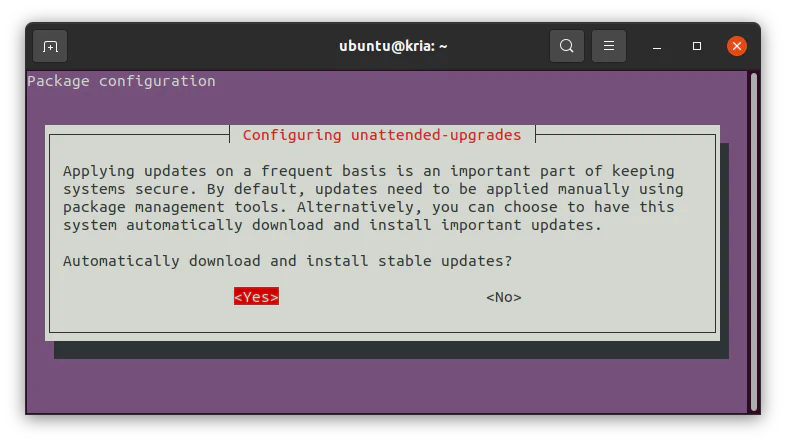
Now it’s time to setup PYNQ. Open a command line terminal Ctrl-Alt-T in Ubuntu (on the Kria KV260) and clone the
PYNQ git repository.
cd into the directory:git clone https://github.com/Xilinx/Kria-PYNQ.git
cd Kria-PYNQgit checkout 43e3385sudo bash install.sh -b KV260Be patient because the PYNQ install takes some time (about 20 minutes). I did end up seeing some red errors flash over the screen but it seems like everything worked nonetheless. Had I used release v1.0 I probably wouldn’t have had any errors. You can download my complete log here.
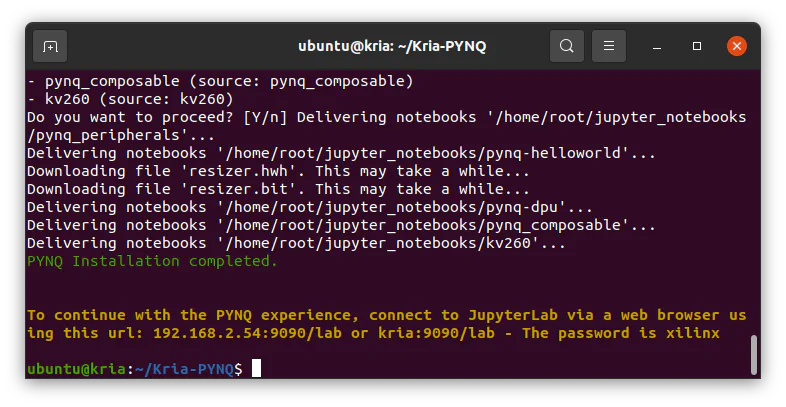
Once the PYNQ install script has completed successfully, you should be able to open Jupyter notebooks on your desktop PC.
kria:9090/lab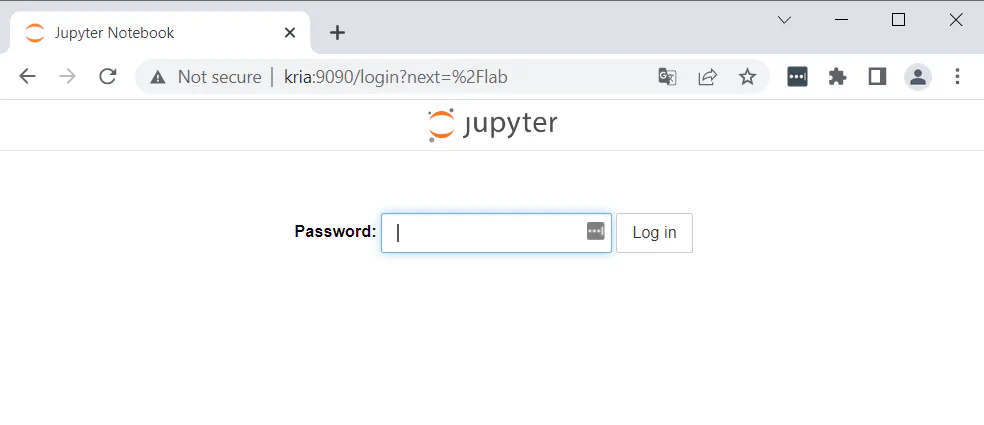
xilinx and click “Log in”.
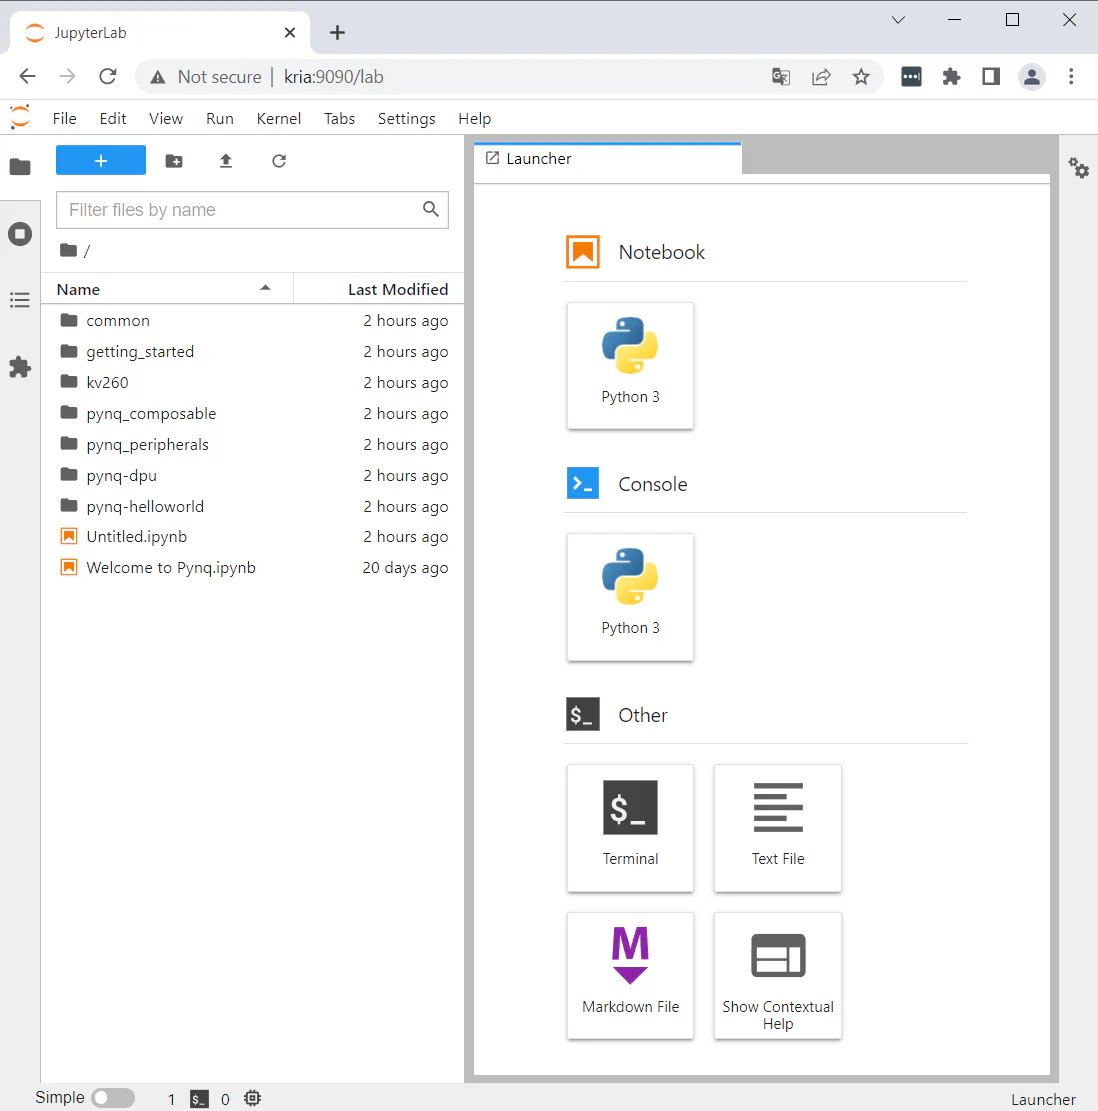
Jupyter notebooks is now ready for you to use. You can explore through the different folders and try out some of the examples.
To work with PYNQ effectively we want to have the ability to easily copy files from our desktop PC to the PYNQ platform. This is useful when we want to transfer new overlays to the board. If you’re using Windows, the easiest way to set this up (in my opinion) is with Samba, so here’s how to do it.
samba:sudo apt install sambasudo nano /etc/samba/smb.confWhile in the nano text editor, you will need to scroll down to the bottom of the file and paste this in there:
[share]
    comment = PYNQ Share
    path = /home/root/jupyter_notebooks
    browsable = yes
    guest ok = yes
    read only = no
    create mask = 0755
Then save the file by pressing Ctrl-O and pressing enter to confirm the filename. Then exit nano
by pressing Ctrl-X.
sudo systemctl restart smbd
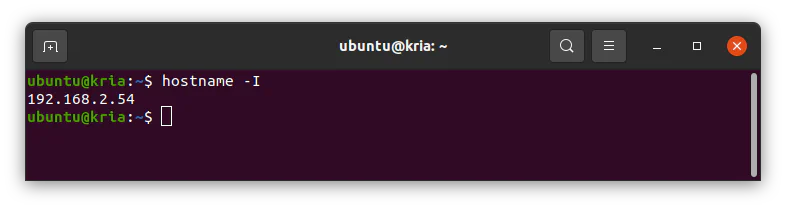
sudo systemctl restart nmbdGet the IP address of our Kria board: hostname -I (note that your board will probably have
a different IP address, it depends on your network setup)
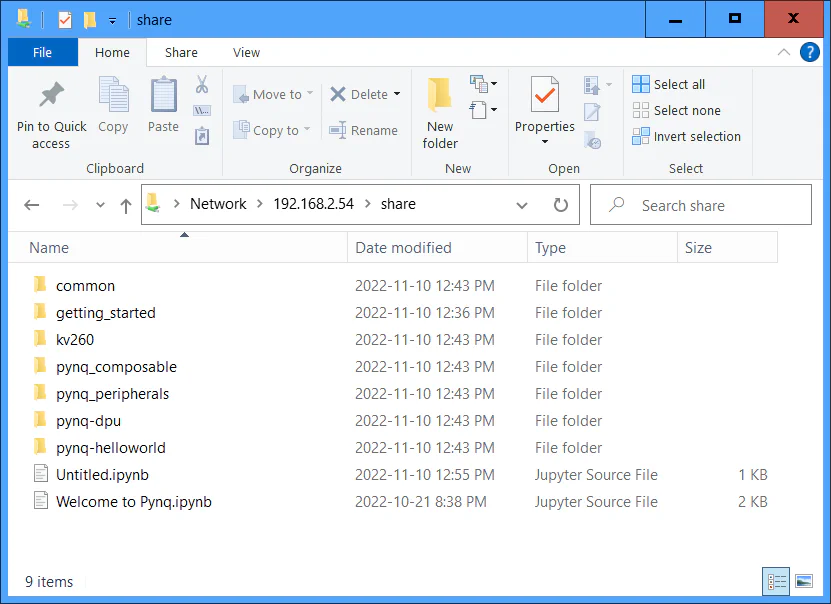
Now from a Windows PC on the same network as the Kria, we should be able to open up an explorer
window and type the IP address of the Kria (like this \\192.168.2.54) to see the Jupyter notebook files.
So now we’re ready to make custom overlays and copy them over to our Kria.
I have a few interesting things that I need to get done with this Kria board in the next few days so you should see a few more posts to come. Specifically I want to get the AR1335 image sensor working on J8 which is the connector with a direct path to the FPGA (ie. bypassing the ISP). PYNQ makes this kind of job really easy to do because I can configure the image sensor on-the-fly and then immediately pull images out of it and see the results. Trying to accomplish the same thing with a bare metal application is insanely more time consuming.
In the short term, the next thing that I want to do is to update my Kria’s boot firmware so that we can then use the latest Ubuntu and PYNQ releases. That should be the next post.