How to program configuration flash with Vivado Hardware Manager
Writing an .mcs file to Quad SPI or Linear BPI flash
Posted on January 18, 2021
| Jeff Johnson
Most FPGA/SoC dev boards have a flash device for non-volatile storage. Typically it would be either a Quad SPI flash (serial interface) or a Linear BPI flash (parallel interface). Although it can be used for storing anything, it’s typically used for storing the configuration for the FPGA or SoC (eg. the bitstream, FSBL, U-Boot, Linux Kernel). If the boot mode of the FPGA or SoC is appropriately set, on power-up it should read from the flash, load the bitstream into the FPGA and then load and run the software components.
[Read More]
How to Modify U-Boot Environment Variables in PetaLinux

Posted on January 13, 2021
| Jeff Johnson
In this post we will look at two methods for modifying the U-Boot environment variables. The first method is changing the values stored in flash from the UBoot command prompt. The second method is changing the hard-coded default values in the PetaLinux project. We’ll be assuming a boot from QSPI flash, although the concepts also apply to booting from SD card or other non-voltatile storage devices.
The U-Boot environment variables determine exactly how a board is supposed to boot.
[Read More]
How to decompile a device tree in PetaLinux
Converting a .dtb to .dts
Posted on January 8, 2021
| Jeff Johnson
One of the output products of a PetaLinux project is a compiled (binary) device tree. Sometimes we’d like to be able to read that compiled device tree to see exactly what is inside it. This can help with debugging a problem, or you may just want to make sure that your device tree additions are actually being pulled in. Either way, a compiled device tree can be “decompiled” using a tool that you can find hidden away in the PetaLinux build collateral.
[Read More]
How to Patch PetaLinux
Modifying the kernel, drivers and standalone components
Posted on January 2, 2021
| Jeff Johnson
When we build PetaLinux for custom hardware we invariably need to modify components of the boot image: FSBL, U-Boot, or the kernel itself. I use the words “modify” and “patch” interchangably here because the accepted way to make changes to the boot components is to apply “patches” to them. A patch is simply a “diff” between the original source code and the modified source code. To generate the “diff” file, we can use Linux command diff or other similar commands, but in this post we will use the command git diff.
[Read More]
How to Build PYNQ v2.6 for Ultra96
Posted on December 16, 2020
| Jeff Johnson
In this post we’re going to setup a virtual machine with the tools for building PYNQ and we are going to build PYNQ release v2.6 (tool version 2020.1) for the Ultra96 board. We’re going to start with the virtual machine that we setup in the previous post How to Install PetaLinux 2020.1. That VM has Vitis 2020.1 and PetaLinux 2020.1 installed, both of which we will need to build PYNQ. If you want to avoid issues along the way, I highly recommend that you follow that post and recreate the same VM with exactly the same tool versions and OS.
[Read More]
How to Install PetaLinux 2020.1
Clean install on a virtual machine
Posted on December 13, 2020
| Jeff Johnson
In this post we’re going to install PetaLinux 2020.1 from scratch on a virtual machine running Ubuntu 18.04.4 64-bit. The workstation on which I will be doing this has an Intel Xeon, 64GB RAM and 3TB HDD running Windows 10 64-bit. I’m assuming that your host machine is also running Windows.
Why run PetaLinux on a virtual machine? Here are the main advantages to using PetaLinux on a virtual machine:
[Read More]
Ultra96 Quad Ethernet with Passive Cooling
Posted on December 10, 2020
| Jeff Johnson
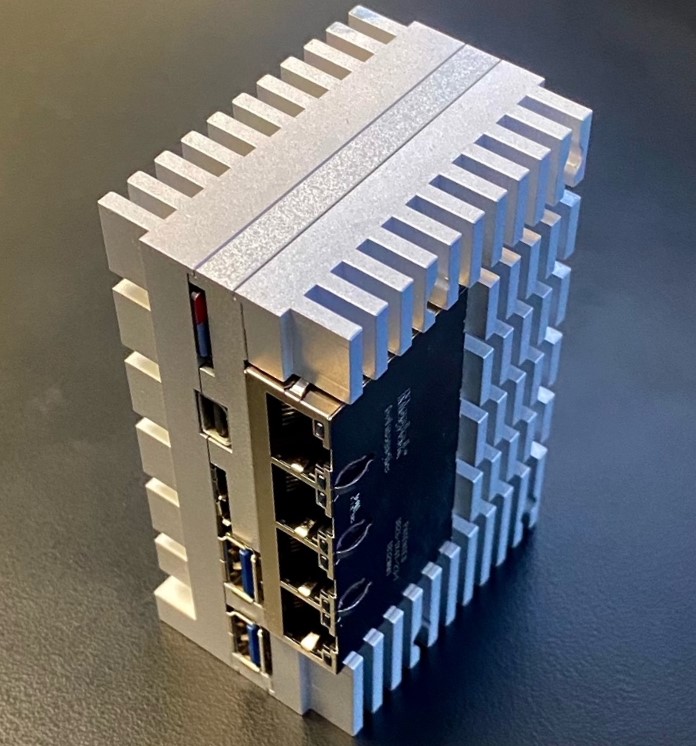
One of our 96B Quad Ethernet Mezzanine customers
has built an extremely tough looking heatsink to passively cool the
Ultra96
single board computer and it’s Ethernet mezzanine. I just wanted to share the
photos; it makes the Ultra96 look like a tank!


Dev Board Quick References
Posted on December 9, 2020
| Jeff Johnson
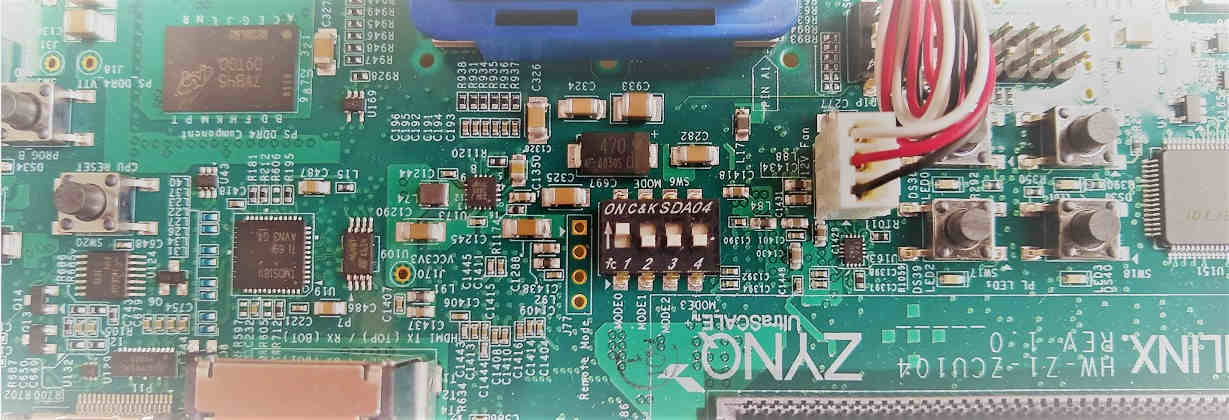
In my work I have to use a lot of different FPGA and SoC dev boards, and when I switch from one to another it’s always a pain because I can never remember the little details like “What are the DIP settings to set the boot mode to SD card?" and “Where is the DIP switch for that?". So my crutch for this has been to keep a little text file for each dev board containing the little useful details like:
[Read More]
Getting off Wordpress
And onto Hugo

Posted on December 3, 2020
| Jeff Johnson
In 2008 I started the FPGA Developer blog on the Blogger platform (remember the .blogspot domains?). Then in 2011 I moved the blog to Wordpress. I’ve got to say that over the last 9 years Wordpress has been great and let me create a good looking blog without needing to know much about coding for websites. I was pretty quick to get onto the Divi theme by Elegant Themes and I thought it was the best thing in the world.
[Read More]
How to Build PYNQ v2.5 for Ultra96

Posted on December 15, 2019
| Jeff Johnson
In this post we’re going to build an SD image for PYNQ release v2.5 (tool version 2019.1) for the Ultra96 board. The starting point will be the virtual machine that we setup in an earlier post How to Install PetaLinux 2019.1. In that post we installed Vivado & SDK 2019.1 and PetaLinux 2019.1 on the VM, and we’ll need all three of them to build the PYNQ SD image. I highly recommend that you follow that post and recreate exact same VM to avoid any issues going through this post.
[Read More]


