Title here
Summary here
A single-command driven, scripted Yocto flow
June 3, 202612 minutes
Using Versal AI Edge Series VEK280
December 2, 202415 minutes
A reference design that you can build and test
October 8, 202410 minutes
For Ubuntu 20.04
July 2, 20244 minutes
Workaround for enabling the VADJ voltage on Versal VCK190, VMK180, and VPK120 boards
March 21, 20246 minutes
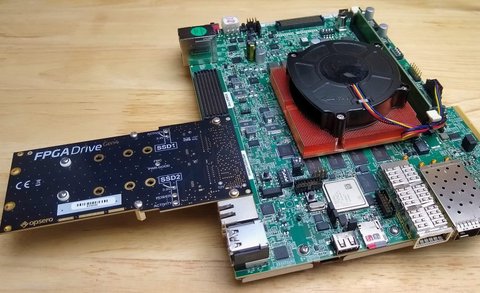
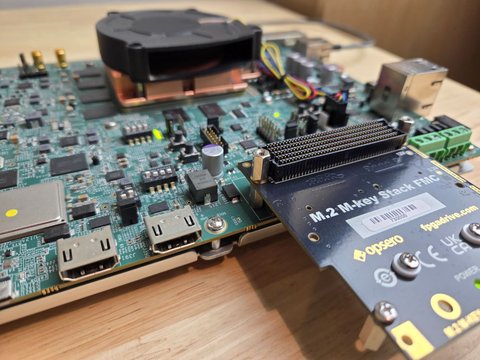
Bringing up NVMe SSDs on the Versal VCK190 with FPGA Drive FMC Gen4 and PetaLinux
March 18, 202422 minutes
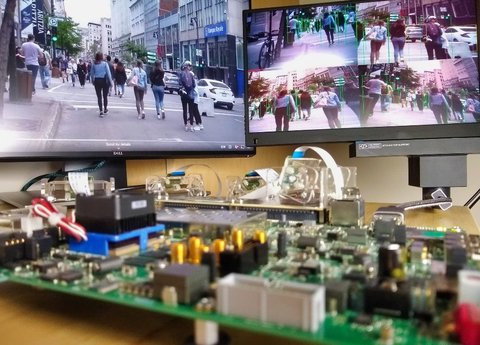
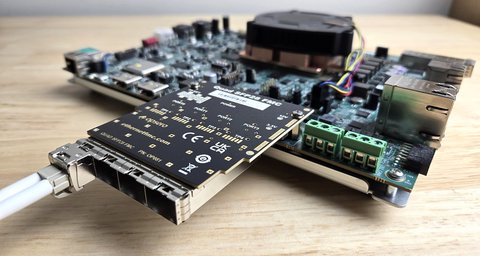
Running multi-camera YOLOv5 on Zynq UltraScale+ using a Hailo-8 AI accelerator via FPGA Drive FMC
February 15, 202419 minutes

How to change the PetaLinux build temp folder location to avoid running out of disk space
November 8, 20232 minutes

ie. without a network connection
October 10, 20236 minutes

And making it run on start-up
September 21, 20233 minutes