Benchmarking an FPGA based AI Vision application
Docker, Ubuntu and PetaLinux put to the test
Posted on July 10, 2023
| Jeff Johnson
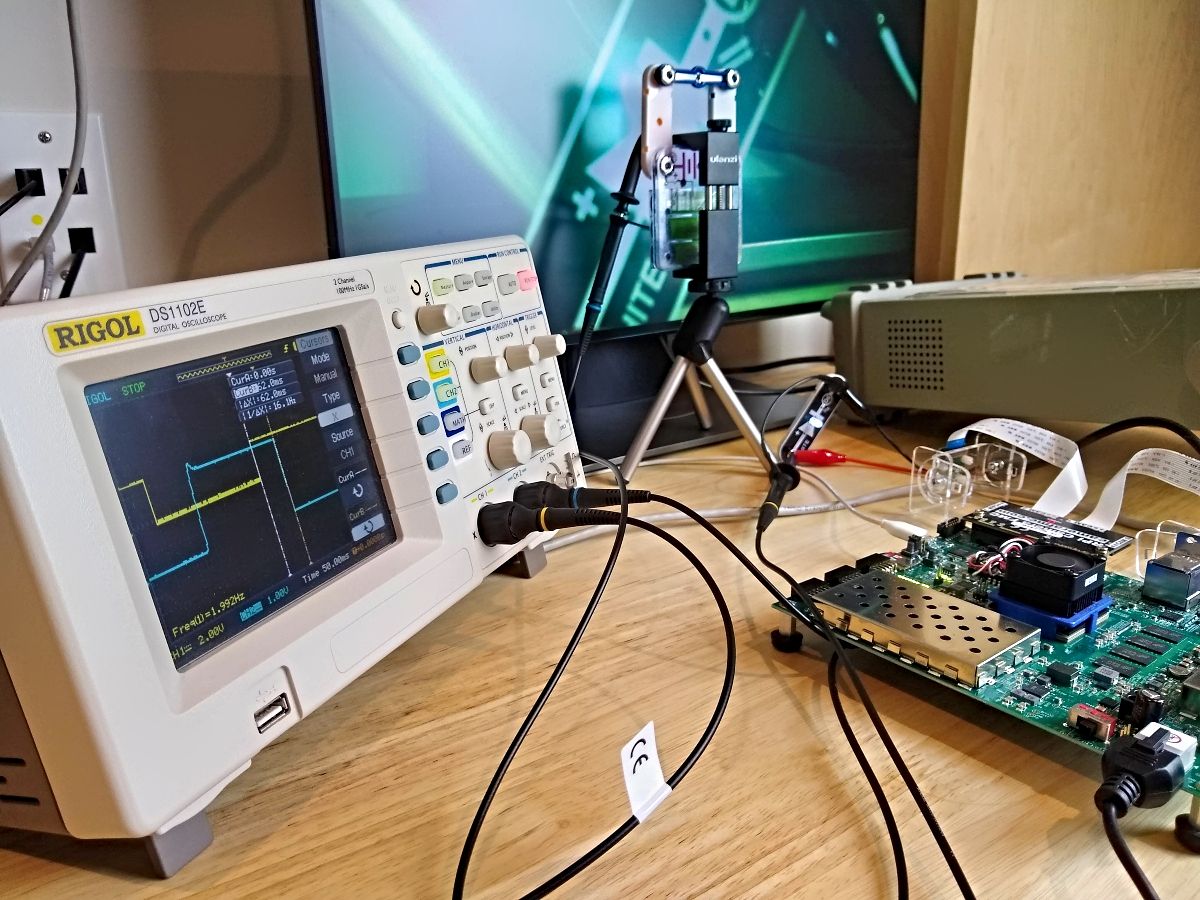
Many smart vision applications need to make fast decisions: autonomous vehicles, drones, surveillance and industrial robotics are only a few examples. When developing these kinds of AI vision systems, understanding performance-affecting factors is critical.
In this post, we’ll explore two such factors: the operating system and camera type. We’ll measure and compare the performance of the NLP-SmartVision app on the ZCU104 board. The setups we’ll use are:
Operating system: Docker container on Certified Ubuntu 22.
[Read More]
NLP-SmartVision in PetaLinux on ZCU104
Using Raspberry Pi cameras
Posted on July 5, 2023
| Jeff Johnson
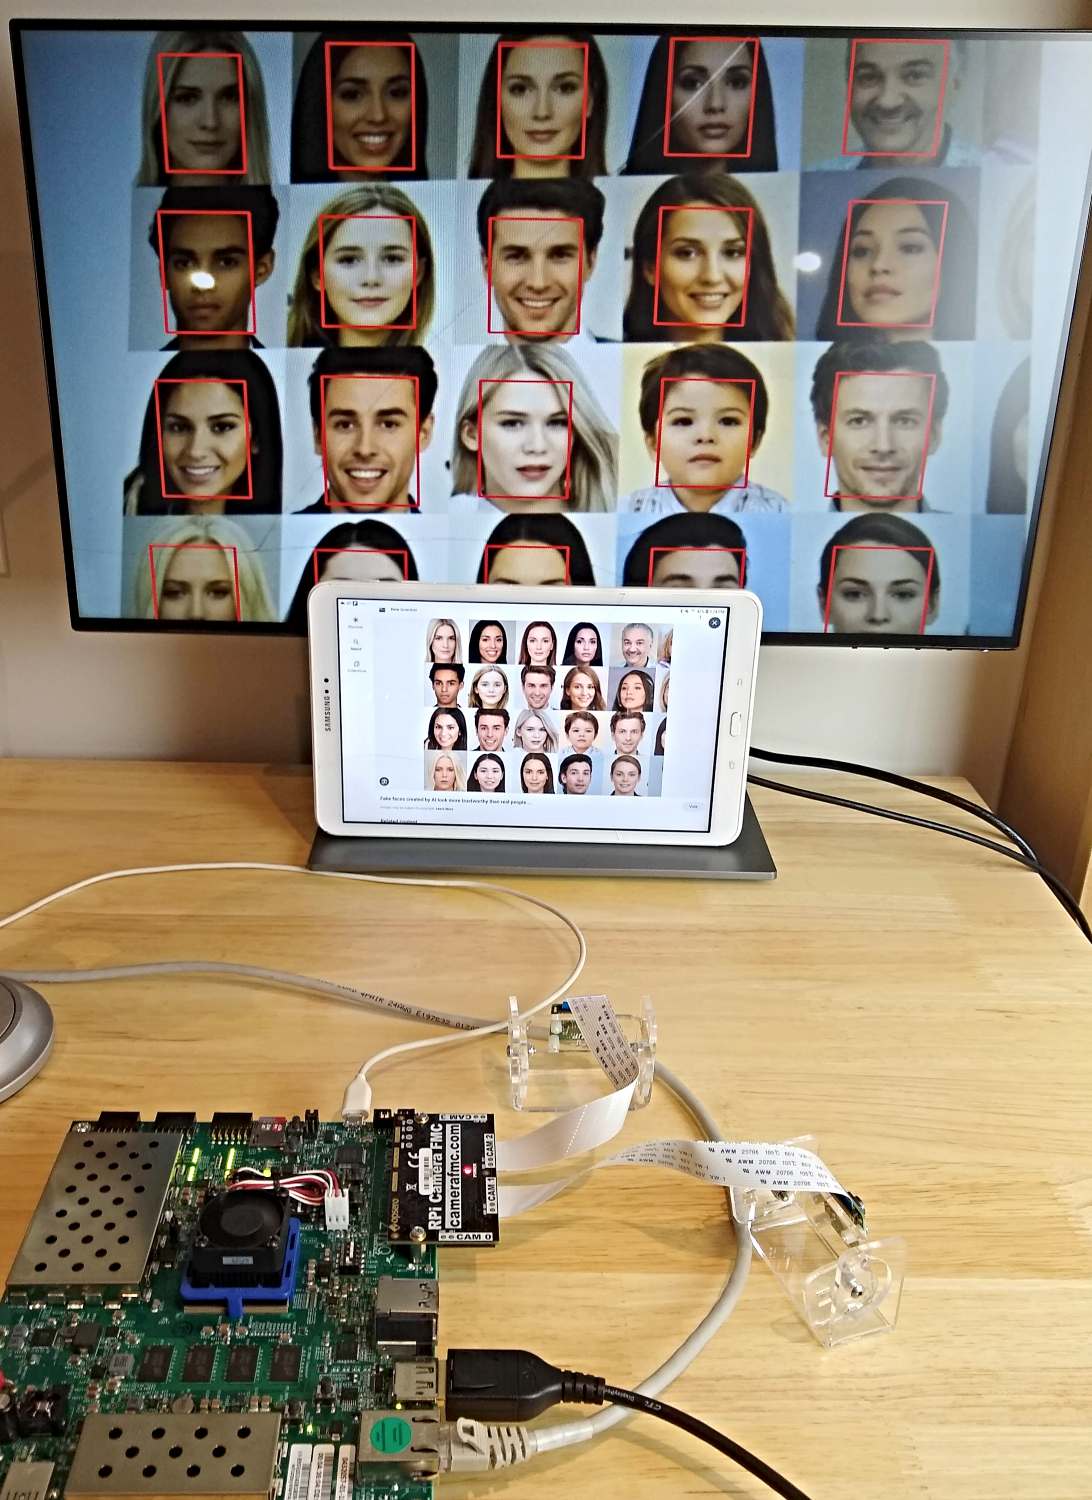
In the last post we looked at how to run the Smartcam and NLP-SmartVision apps on the ZCU106 and Certified Ubuntu 22.04 LTS. One reader mentioned that running these apps in a Docker container on Ubuntu probably comes with a performance penalty when compared to running it on a lean PetaLinux build. This piqued my curiosity so in this post, we’re going to get the NLP-Smartvision app running in PetaLinux on the ZCU104 and then in the next post we’ll measure whatever penalty there may be to the throughput (in frames per second) and/or the glass-to-glass latency (in milliseconds).
[Read More]
How to build the Hardware Platform for Certified Ubuntu 20.04 LTS for ZCU106
With the objective of customizing it
Posted on May 19, 2023
| Jeff Johnson
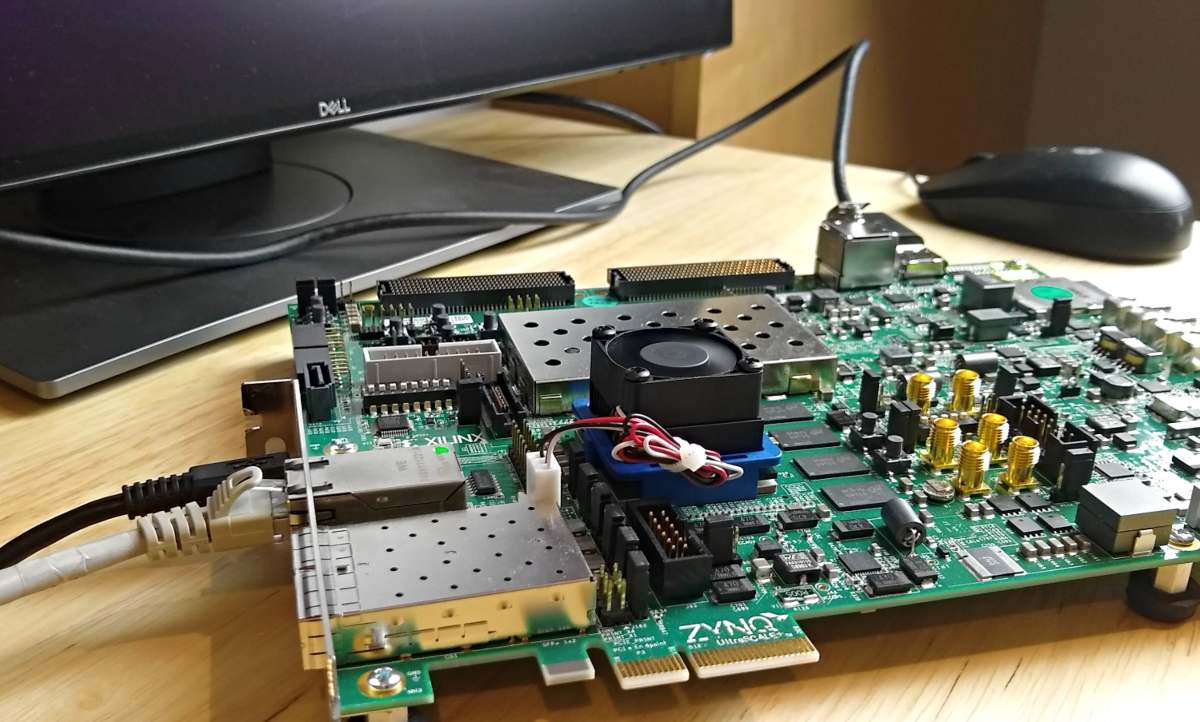
This post is a continuation of the previous post where we setup our ZCU106 board for Ubuntu 20.04 LTS. In this post we’re going to build the hardware platform that is built into the Certified Ubuntu 20.04 LTS images for the ZCU106 board. The reason that we would want to be able to do this is so that we can customize the hardware platform - perhaps add functionality, add external connections, or add accelerator IP.
[Read More]
How to Install Vitis and PetaLinux 2022.1
On Ubuntu 20.04
Posted on May 11, 2023
| Jeff Johnson
While getting into the Kria KV260 Vision AI Starter Kit Applications I’ve had to install Vitis and PetaLinux 2022.1 on Ubuntu 20.04. In this post I just want to write out some clear instructions to make it a smoother process for others that need to do the same thing.
Step 1: Install dependencies It’s probably best to start by installing all of the dependencies of Vitis and PetaLinux 2022.1. Just open a terminal in Ubuntu by pressing Ctrl + Alt + T and run the following commands.
[Read More]
PetaLinux build artifacts
How to keep them and where to find them
Posted on March 25, 2021
| Jeff Johnson
These tips apply to PetaLinux 2020.2. To save disk space, the PetaLinux tools deletes all build artifacts at the end of the build process. If you want to keep them for debugging or to help you develop a patch, you can add the following line to the project-spec/meta-user/conf/petalinuxbsp.conf file:
RM_WORK_EXCLUDE += "recipe" Where recipe must be substituted with a valid recipe name such as the following:
Sources Recipe name Kernel linux-xlnx FSBL fsbl U-Boot u-boot-xlnx PMU firmware pmu-firmware Device tree device-tree If you want to preserve the build artifacts of more than one component, you can append the recipe names, separated by spaces, for example, to preserve the kernel sources and the FSBL:
[Read More]
How to Modify U-Boot Environment Variables in PetaLinux

Posted on January 13, 2021
| Jeff Johnson
In this post we will look at two methods for modifying the U-Boot environment variables. The first method is changing the values stored in flash from the UBoot command prompt. The second method is changing the hard-coded default values in the PetaLinux project. We’ll be assuming a boot from QSPI flash, although the concepts also apply to booting from SD card or other non-voltatile storage devices.
The U-Boot environment variables determine exactly how a board is supposed to boot.
[Read More]
How to decompile a device tree in PetaLinux
Converting a .dtb to .dts
Posted on January 8, 2021
| Jeff Johnson
One of the output products of a PetaLinux project is a compiled (binary) device tree. Sometimes we’d like to be able to read that compiled device tree to see exactly what is inside it. This can help with debugging a problem, or you may just want to make sure that your device tree additions are actually being pulled in. Either way, a compiled device tree can be “decompiled” using a tool that you can find hidden away in the PetaLinux build collateral.
[Read More]
How to Patch PetaLinux
Modifying the kernel, drivers and standalone components
Posted on January 2, 2021
| Jeff Johnson
When we build PetaLinux for custom hardware we invariably need to modify components of the boot image: FSBL, U-Boot, or the kernel itself. I use the words “modify” and “patch” interchangably here because the accepted way to make changes to the boot components is to apply “patches” to them. A patch is simply a “diff” between the original source code and the modified source code. To generate the “diff” file, we can use Linux command diff or other similar commands, but in this post we will use the command git diff.
[Read More]
How to Build PYNQ v2.6 for Ultra96
Posted on December 16, 2020
| Jeff Johnson
In this post we’re going to setup a virtual machine with the tools for building PYNQ and we are going to build PYNQ release v2.6 (tool version 2020.1) for the Ultra96 board. We’re going to start with the virtual machine that we setup in the previous post How to Install PetaLinux 2020.1. That VM has Vitis 2020.1 and PetaLinux 2020.1 installed, both of which we will need to build PYNQ. If you want to avoid issues along the way, I highly recommend that you follow that post and recreate the same VM with exactly the same tool versions and OS.
[Read More]
How to Install PetaLinux 2020.1
Clean install on a virtual machine
Posted on December 13, 2020
| Jeff Johnson
In this post we’re going to install PetaLinux 2020.1 from scratch on a virtual machine running Ubuntu 18.04.4 64-bit. The workstation on which I will be doing this has an Intel Xeon, 64GB RAM and 3TB HDD running Windows 10 64-bit. I’m assuming that your host machine is also running Windows.
Why run PetaLinux on a virtual machine? Here are the main advantages to using PetaLinux on a virtual machine:
[Read More]


