How to build the Hardware Platform for Certified Ubuntu 20.04 LTS for ZCU106

With the objective of customizing it

How to build the Hardware Platform for Certified Ubuntu 20.04 LTS for ZCU106

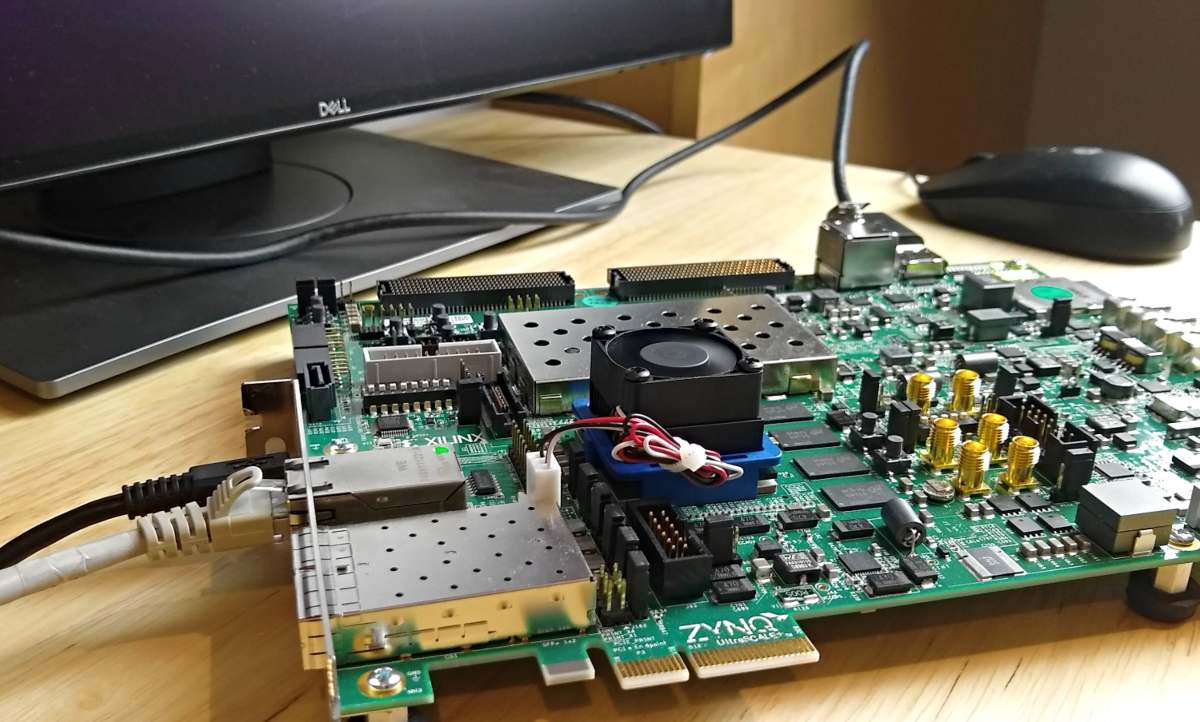
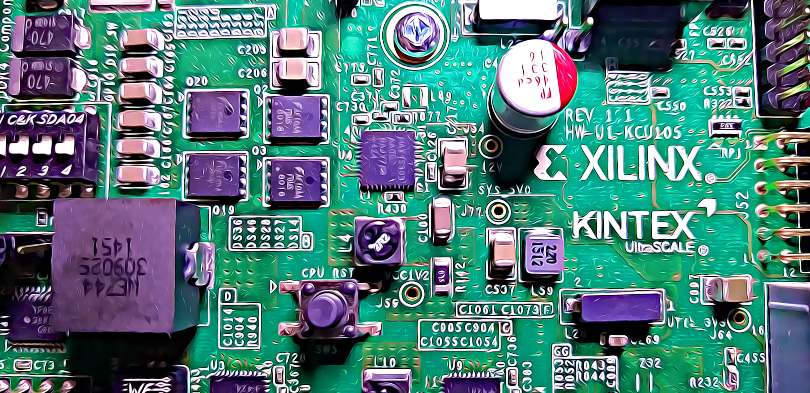
This post is a continuation of the previous post where we setup our ZCU106 board for Ubuntu 20.04 LTS. In this post we’re going to build the hardware platform that is built into the Certified Ubuntu 20.04 LTS images for the ZCU106 board. The reason that we would want to be able to do this is so that we can customize the hardware platform - perhaps add functionality, add external connections, or add accelerator IP. In this post we wont actually modify the design, we’ll just build it and then verify that it works on the hardware. In a later post we will actually modify the platforms. My objective at that time will be to add support for the RPi Camera FMC.

[Read More]

Processorless Ethernet: Part 3

State machine based Ethernet on FPGA

Processorless Ethernet: Part 3

For those of you who want to experiment with processorless Ethernet on FPGAs, I’ve just released a 4-port example design that supports these Xilinx FPGA development boards:

Here’s the Git repo for the project: Processorless Ethernet on FPGA

Why processorless?

Pure hardware designs can trump software where the need for low latency and/or high throughput is greater than the need for flexibility and complexity (eg. the support of complex protocols). There are lots of applications that rely on hardware based packet processing to achieve their superior performance. High frequency trading platforms are often fed market pricing over multicast UDP, so their profitability is directly linked to their ability to process UDP with the lowest possible latency. Network security devices that monitor traffic usually need to be as transparent as possible while also being able to detect threats and take action with the lowest possible delay. Whatever your reason for processing Ethernet frames in the FPGA fabric, make sure that you consider both sides of the coin:

[Read More]

Processorless Ethernet: Part 2

Modularizing the TEMAC example design

Processorless Ethernet: Part 2
This article was written by Pablo Trujillo, an FPGA developer and consultant based in Valencia, Spain; a place that I happen to be very fond of, because of the many tapas bars and good eating/drinking to be done there. Pablo writes his own blog on FPGAs called Control Paths and he’s also a very active contributor to Hackster.io. In this article, Pablo explains how he has helped me to modularize the TEMAC example design that we looked at in an earlier post. The point of modularizing the design is to be able to easily extend it to the 4-ports of the Ethernet FMC, and it’s the first step in the development of a 4-port processorless reference design that supports multiple FPGA dev boards. I hope you enjoy reading this article and that it leads you to checkout more of his work. -Jeff

On one of the last posts we used the example design generated by Vivado for the tri_mode_ethernet_mac_ip, and we changed the port used by the example to one of the ports of the Ethernet FMC board. This time, we are going to modify the example design in order to make it easy to replicate the example project on the 4 ports of the FMC Ethernet. To do that, we will need to extract from the example the blocks that will be shared by all ports, and also modify the IP configuration in order to use the less different modules possible.

[Read More]

Driving Ethernet ports without a processor

How to do it on an FPGA and why

Driving Ethernet ports without a processor

Gigabit Ethernet can be a very useful medium for transferring data very quickly from one point to another. It’s low-cost, high-bandwidth, well established technology and the cabling is easily obtained and installed. In embedded applications however, the throughput of Ethernet links is often held back by one thing: the processor. When using an FPGA, we can relieve the processor significantly by offloading work to the FPGA fabric, but often the only way to exploit the full potential of a Gigabit Ethernet link is to do away with the processor altogether.

[Read More]

How to program configuration flash with Vivado Hardware Manager

Writing an .mcs file to Quad SPI or Linear BPI flash

How to program configuration flash with Vivado Hardware Manager

Most FPGA/SoC dev boards have a flash device for non-volatile storage. Typically it would be either a Quad SPI flash (serial interface) or a Linear BPI flash (parallel interface). Although it can be used for storing anything, it’s typically used for storing the configuration for the FPGA or SoC (eg. the bitstream, FSBL, U-Boot, Linux Kernel). If the boot mode of the FPGA or SoC is appropriately set, on power-up it should read from the flash, load the bitstream into the FPGA and then load and run the software components.

[Read More]

Board bring-up: MYIR MYD-Y7Z010 Dev board

In this tutorial video, I bring-up the 3x Gigabit Ethernet ports on the MYD-Y7Z010 Development board from MYIR. Firstly, I create a Vivado design for this board, then I export it into the SDK and generate the echo server application for each of the 3 ports (note that the echo server application only supports one port at a time). At the end of the video, I test each of these designs on hardware and ensure that the ports are given an IP address via DHCP and that I can ping the port. I did this on the MYIR dev board but I hope that the tutorial can be of help to people bringing up Ethernet ports on other platforms or their own custom boards.

[Read More]
lwip  myir  zynq 

How to accelerate a Python function with PYNQ

This video demonstrates how you would typically go about accelerating a Python function or algorithm on the Zynq-7000 with PYNQ. The function I chose to base this video on is the Finite Impulse Response (FIR) filter because the SciPy package contains the lfilter function which can be used for this purpose, and because the Xilinx IP catalog has a free FIR filter IP core. If you instead wanted to implement the accelerator in HLS, the process would be very similar, you would just have to design your accelerator with AXI-Streaming interfaces and ensure that the TLAST signals were properly managed.

[Read More]

Create a custom PYNQ overlay for PYNQ-Z1

In this video tutorial we create a custom PYNQ overlay for the PYNQ-Z1 board. Probably the simplest PYNQ overlay possible, it contains one custom IP (an adder) with an AXI-Lite interface and three registers accessible over that interface: a, b and c. To use the IP we write a number to input registers a and b, and then we read the output register c which contains the sum of a and b. We create the IP in Vivado HLS, we then create the overlay in Vivado and bring the IP into our block design. Then we copy the overlay files (.bit and .tcl) over the network and onto the SD card of the PYNQ-Z1 board. Finally we open the Jupyter web application from a web browser and we write some Python code to test out our overlay and custom IP.

[Read More]

Artix-7 Arty Base Project

Here’s a base project for the Arty board based on the Artix-7 FPGA. The Arty is a nice little dev board because it’s low cost ($99 USD) but it’s still got enough power and connectivity to make it very useful. I really like the fact that the JTAG and UART are both accessed through the same USB connector, so I only need to connect one USB cable. I also like the fact that I can power it from the USB connector alone - provided I don’t connect too many power hungry PMods or an Arduino shield.

[Read More]

Creating a custom AXI-Streaming IP in Vivado

The AXI-Streaming interface is important for designs that need to process a stream of data, such as samples coming from an ADC, or images coming from a camera. In this tutorial, we go through the steps to create a custom IP in Vivado with both a slave and master AXI-Streaming interface. The custom IP will be written in Verilog and it will simply buffer the incoming data at the slave interface and make it available at the master interface - in other words, it will be a FIFO. We’ll test the custom IP using a DMA which we’ll use to push streaming data into the IP and pull data out of the IP. We’ll use an SDK application to setup these DMA transfers and compare the sent data with the received data. The hardware we use for testing this will be the MicroZed 7010, so this is a Zynq-7000 design.

[Read More]