Adding a script to the root file system in PetaLinux
And making it run on start-up

Posted on September 21, 2023
| Jeff Johnson
When designing custom PetaLinux builds, we often end up with a bunch of commands that we have to run after login to set things up and make initializations. Having a script built into the root filesystem can make this process easier, so in this post I’m going to show you how you can set that up in PetaLinux 2022.1.
These instructions assume that you already have a PetaLinux project created.
[Read More]
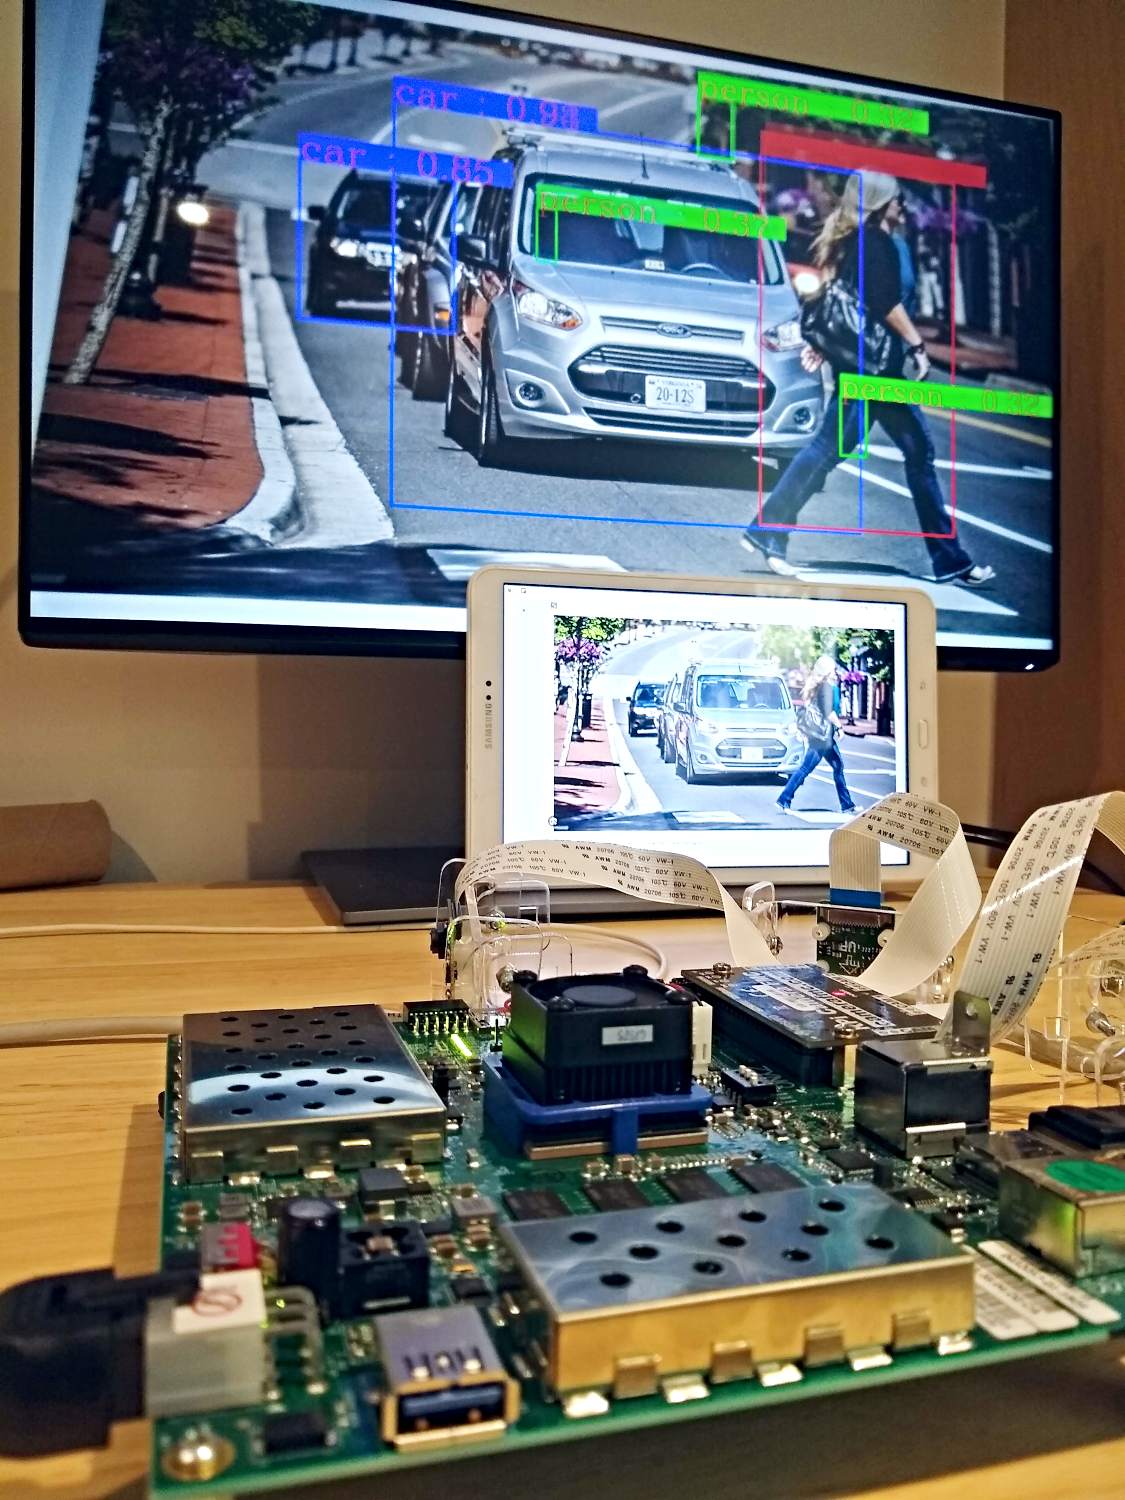
A Smart Camera implemented in PetaLinux 2022.1 on ZCU104
Using a Raspberry Pi camera
Posted on July 12, 2023
| Jeff Johnson
In this post we’re going to build a smart camera using a Raspberry Pi camera, the ZCU104 board and PetaLinux. We’re going to do this by leveraging the Smartcam app which was originally designed for the AMD Xilinx Kria SoM. Our version of the Smartcam app can take video inputs from a Raspberry Pi camera, a USB camera or a file, and it can output video to a DisplayPort monitor, a file or via Ethernet over Real-time Transport Protocol.
[Read More]
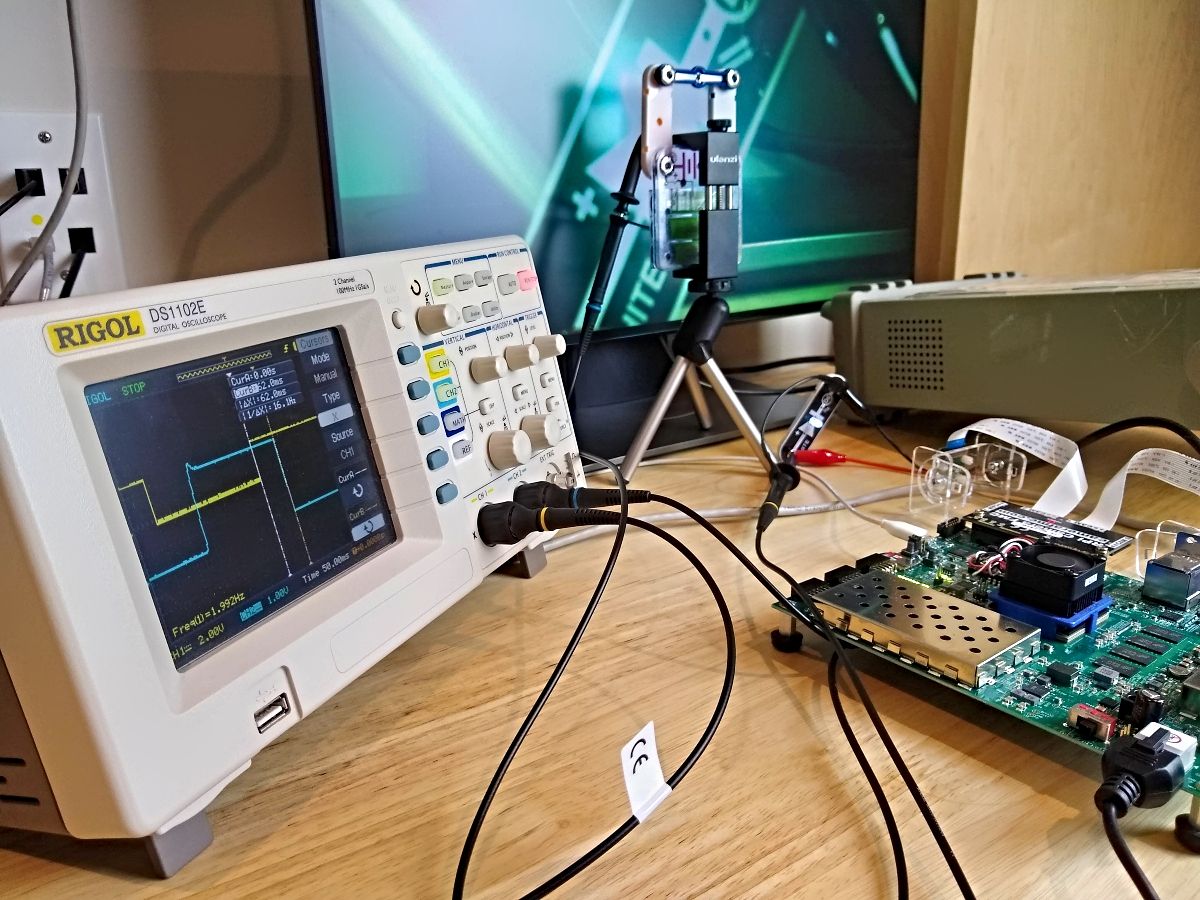
Benchmarking an FPGA based AI Vision application
Docker, Ubuntu and PetaLinux put to the test
Posted on July 10, 2023
| Jeff Johnson
Many smart vision applications need to make fast decisions: autonomous vehicles, drones, surveillance and industrial robotics are only a few examples. When developing these kinds of AI vision systems, understanding performance-affecting factors is critical.
In this post, we’ll explore two such factors: the operating system and camera type. We’ll measure and compare the performance of the NLP-SmartVision app on the ZCU104 board. The setups we’ll use are:
Operating system: Docker container on Certified Ubuntu 22.
[Read More]
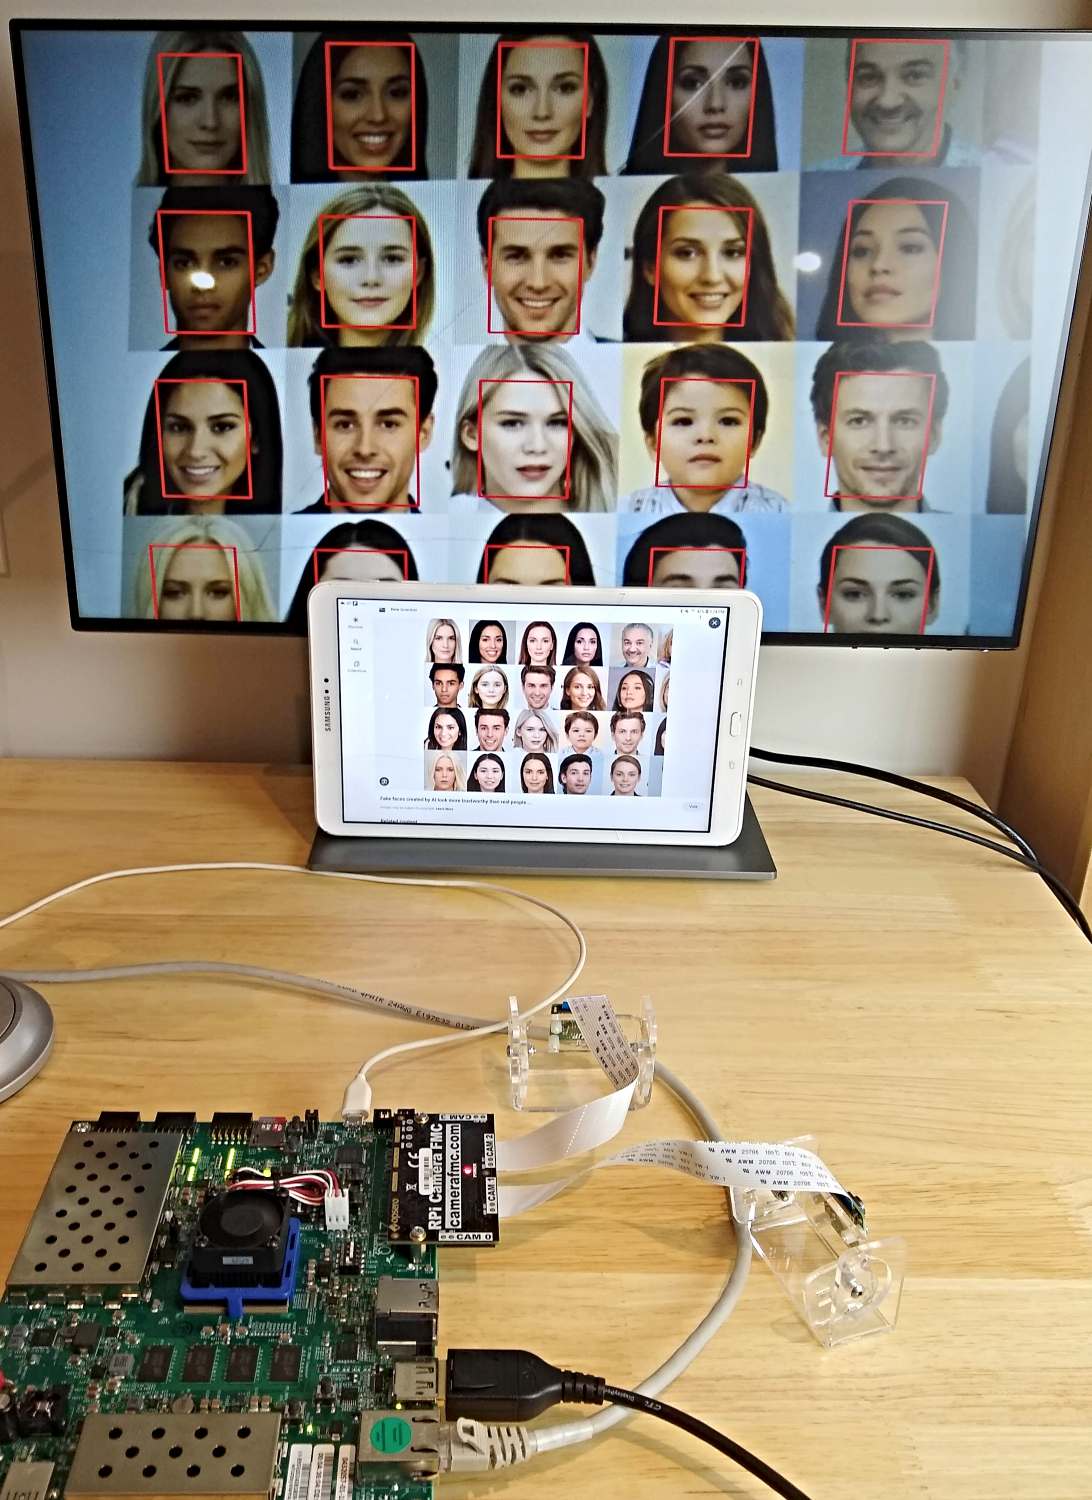
NLP-SmartVision in PetaLinux on ZCU104
Using Raspberry Pi cameras
Posted on July 5, 2023
| Jeff Johnson
In the last post we looked at how to run the Smartcam and NLP-SmartVision apps on the ZCU106 and Certified Ubuntu 22.04 LTS. One reader mentioned that running these apps in a Docker container on Ubuntu probably comes with a performance penalty when compared to running it on a lean PetaLinux build. This piqued my curiosity so in this post, we’re going to get the NLP-Smartvision app running in PetaLinux on the ZCU104 and then in the next post we’ll measure whatever penalty there may be to the throughput (in frames per second) and/or the glass-to-glass latency (in milliseconds).
[Read More]
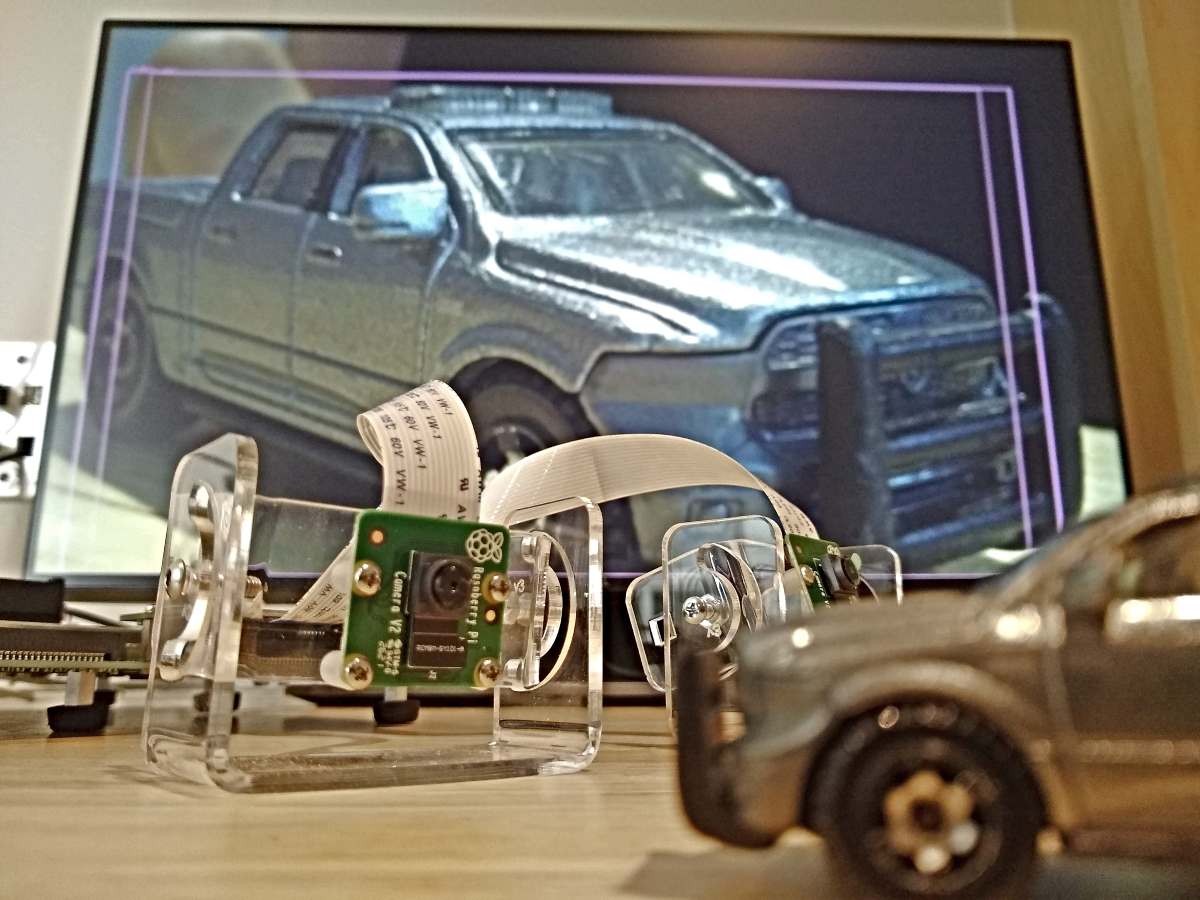
Develop smart vision apps for ZCU106 and RPi Camera FMC
Using Certified Ubuntu 22.04 LTS for Xilinx devices
Posted on June 15, 2023
| Jeff Johnson
If you want to develop smart vision applications using Raspberry Pi cameras, the Zynq UltraScale+ MPSoC and Ubuntu 22.04 LTS, we’ve just released some code and the hardware to help you get started. For the launch of our new RPi Camera FMC, we’ve ported the Kria Vitis Platforms and Overlays over to the ZCU106 armed with an RPi Camera FMC. The result is that you can now build and develop the Smartcam and NLP-Smartvision applications in Certified Ubuntu 22.
[Read More]
How to build the Hardware Platform for Certified Ubuntu 20.04 LTS for ZCU106
With the objective of customizing it
Posted on May 19, 2023
| Jeff Johnson
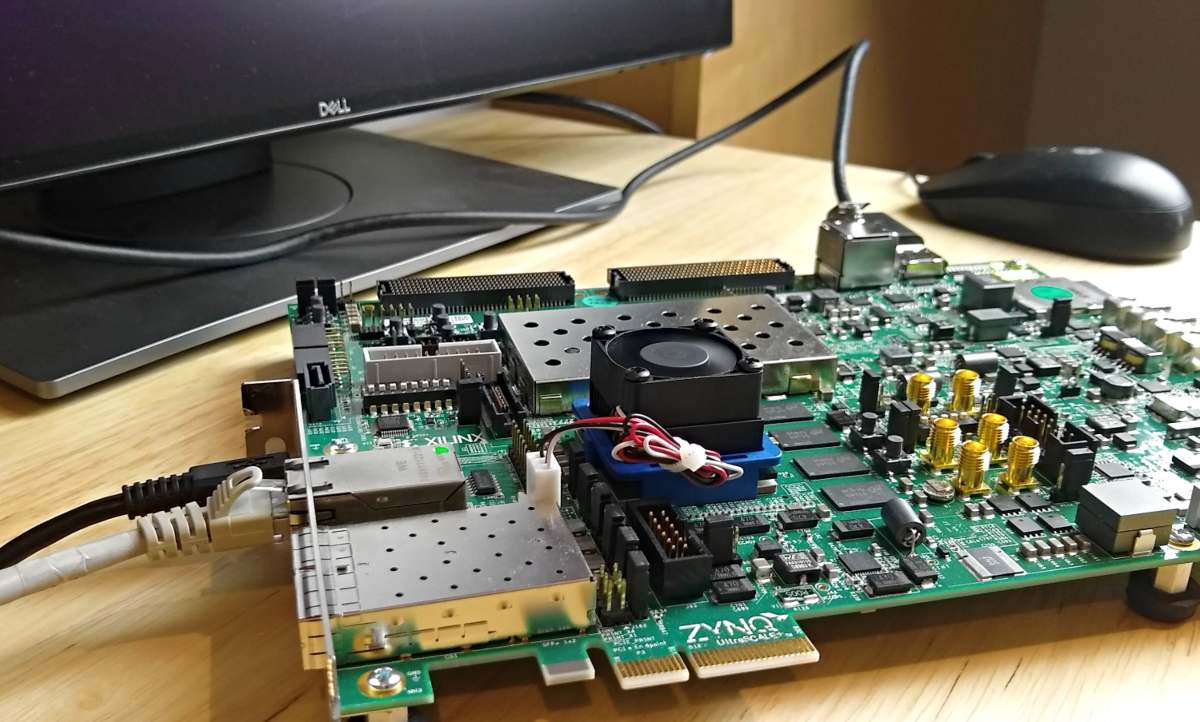
This post is a continuation of the previous post where we setup our ZCU106 board for Ubuntu 20.04 LTS. In this post we’re going to build the hardware platform that is built into the Certified Ubuntu 20.04 LTS images for the ZCU106 board. The reason that we would want to be able to do this is so that we can customize the hardware platform - perhaps add functionality, add external connections, or add accelerator IP.
[Read More]
Certified Ubuntu 20.04 LTS running on ZCU106
Posted on May 18, 2023
| Jeff Johnson
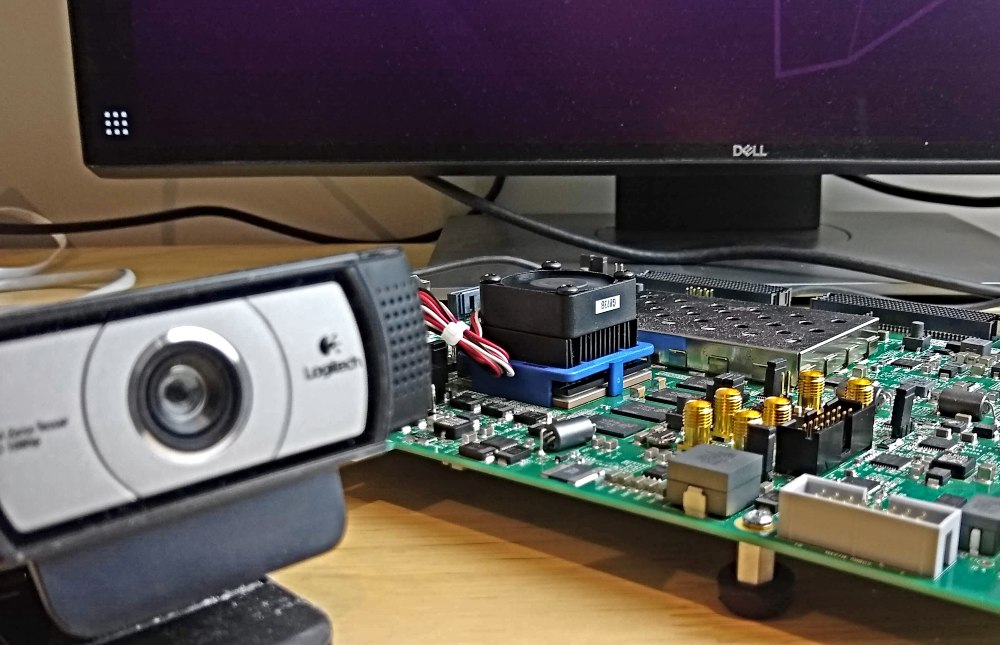
In this post we’re going to download the Certified Ubuntu 20.04 LTS image for the ZCU106 board and get it running on the hardware. This is a fairly simple post but I’ve got to write it up in preparation for future posts where we will dig deeper into this exciting new way of developing applications for Zynq UltraScale+ devices.
Here’s what you’ll need:
ZCU106 Zynq UltraScale+ Development board SanDisk 32GB microSD card (or one with a fairly good capacity) USB keyboard and mouse connected to the ZCU106 USB webcam (if you want to try a video application at the end) USB hub (since ZCU106 has only one USB connector) DisplayPort cable connecting ZCU106 to a monitor Ethernet cable connecting to your network router Burn the ZCU10x Ubuntu image to an SD card Start by downloading Ubuntu 20.
[Read More]
How to Install Vitis and PetaLinux 2022.1
On Ubuntu 20.04
Posted on May 11, 2023
| Jeff Johnson
While getting into the Kria KV260 Vision AI Starter Kit Applications I’ve had to install Vitis and PetaLinux 2022.1 on Ubuntu 20.04. In this post I just want to write out some clear instructions to make it a smoother process for others that need to do the same thing.
Step 1: Install dependencies It’s probably best to start by installing all of the dependencies of Vitis and PetaLinux 2022.1. Just open a terminal in Ubuntu by pressing Ctrl + Alt + T and run the following commands.
[Read More]
Camera FMC: Connecting MIPI cameras to FPGAs
Posted on March 1, 2023
| Jeff Johnson
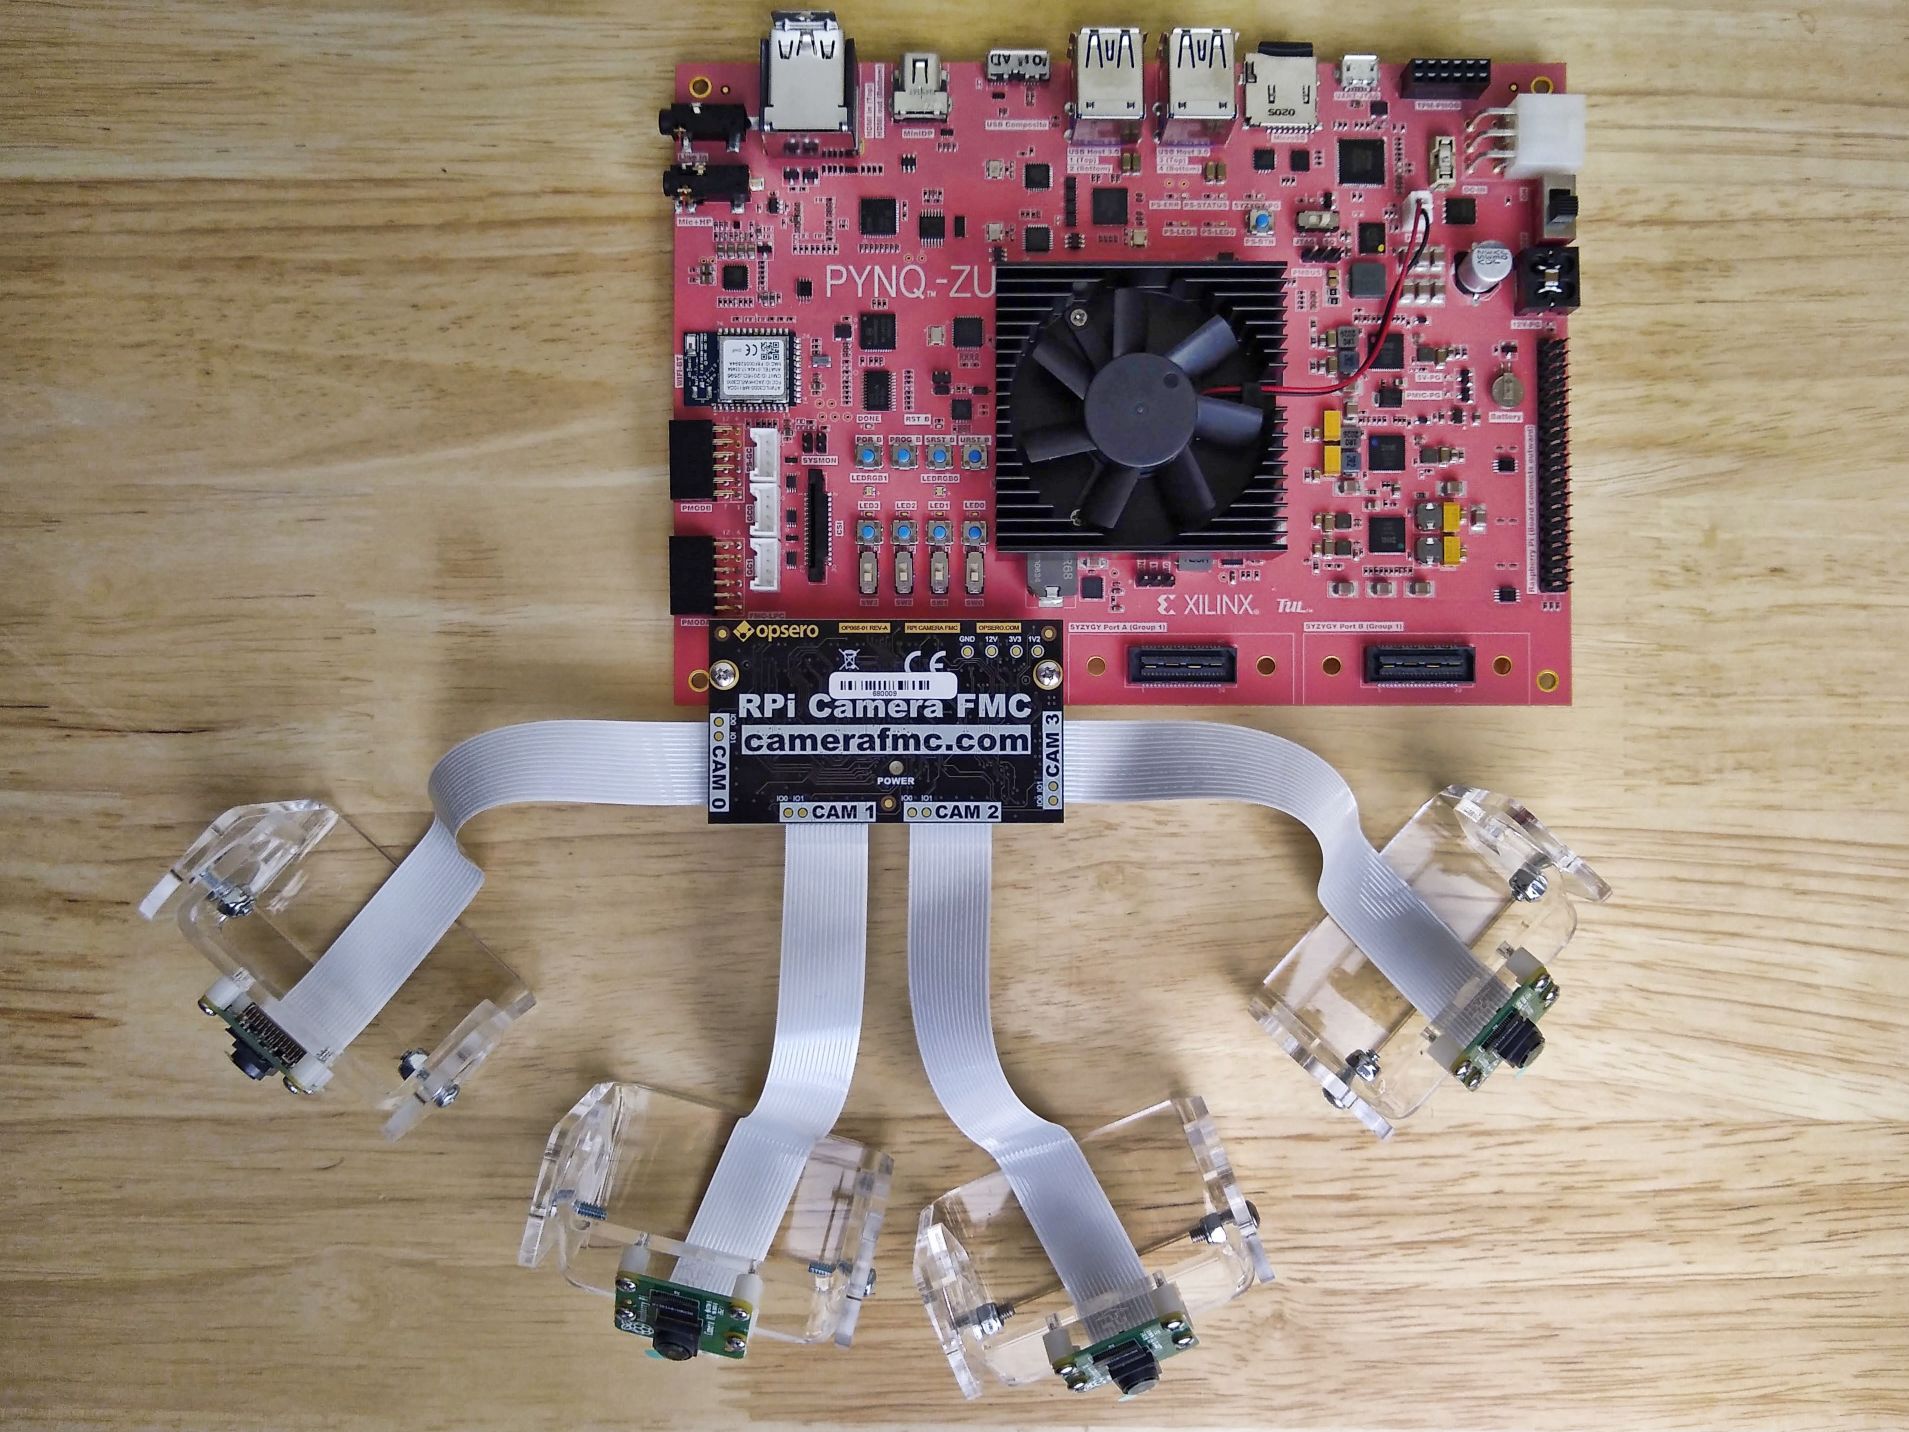
FPGAs and MPSoCs are ideally suited for machine vision applications due to their ability to process large amounts of data in parallel and at high speeds. FPGAs can run highly power efficient neural network implementations and benefit from ultra low latency connections to multiple image sensors. Given the inherent strengths of FPGAs for machine vision, it surprises me that GPUs have become the dominant hardware platform for deep learning applications1 in recent years.
[Read More]
A peek at the new RPi Camera FMC
Posted on February 3, 2023
| Jeff Johnson
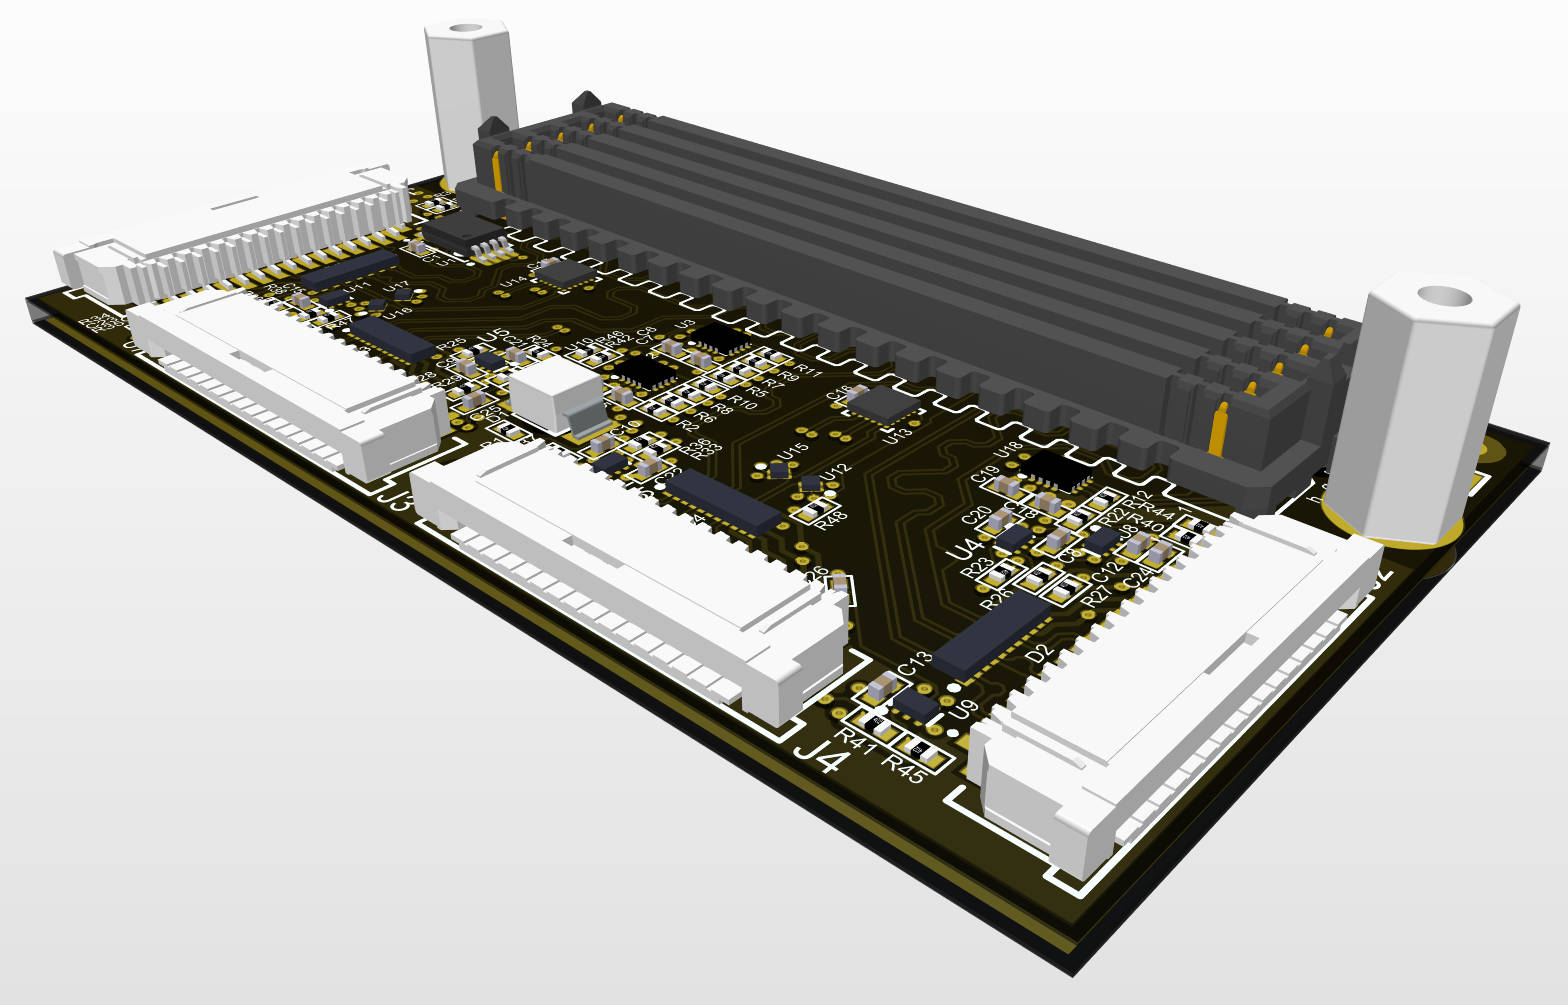
In the coming weeks we’ll be launching a new product called the RPi Camera FMC. This compact little FMC card allows you to connect 4x Raspberry Pi cameras (and variants) to a few Zynq UltraScale+ MPSoC boards listed below. All of the boards will support 4 cameras through the same FMC card.
AMD Xilinx ZCU104 AMD Xilinx ZCU102 AMD Xilinx ZCU106 TUL PYNQ-ZU Digilent Genesys-ZU Avnet UltraZed-EV Starter Kit I like Raspberry Pi and especially the impressive camera ecosystem that they and the RPi community have built up.
[Read More]


